


-

- Over an hour
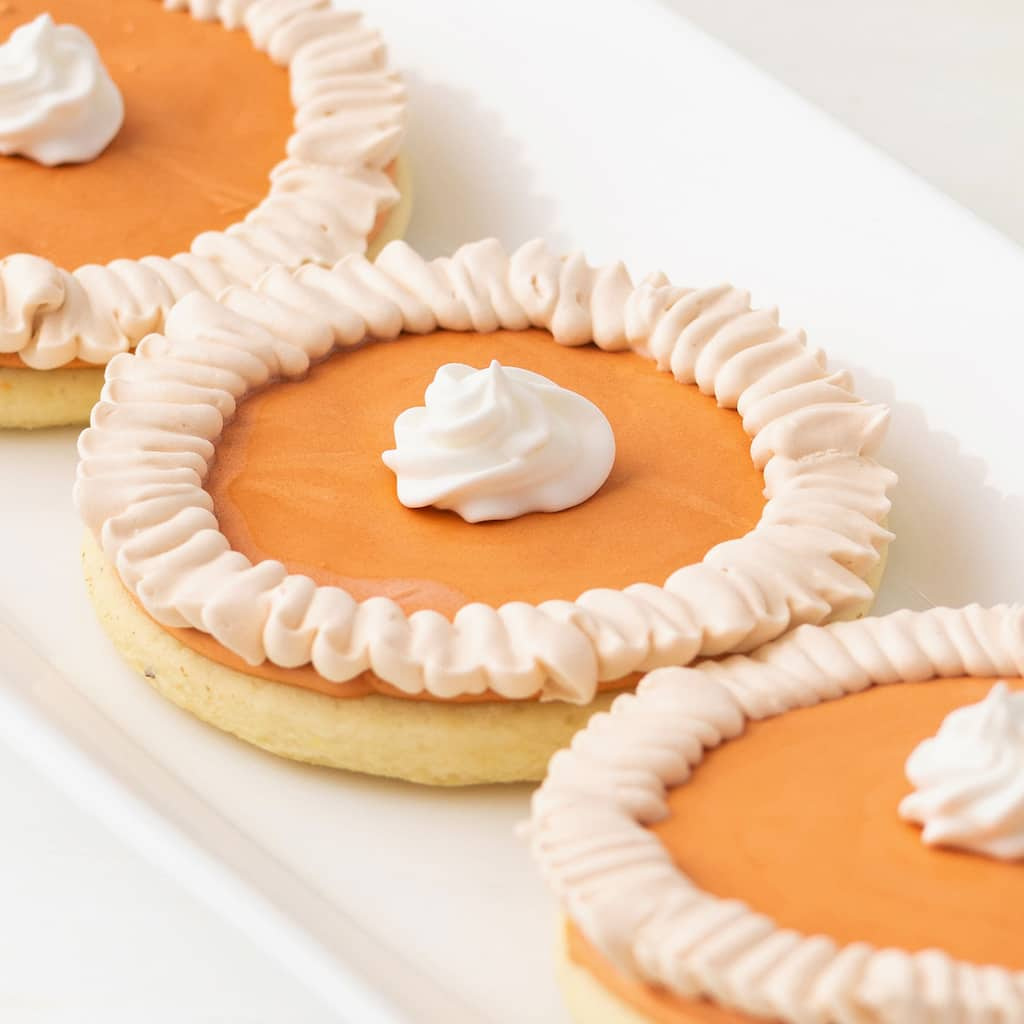
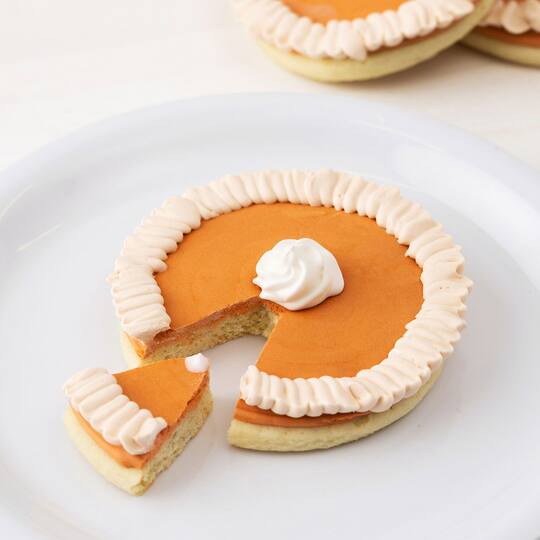
sweet sugarbelle™ pie cookies
Celebrate fall with these cute pie inspired cookies!
| Step 1 |
Prepare your roll-out sugar cookie dough following recipe instructions. |
| Step 2 |
Cut out your cookies with a circle cookie cutter. Bake according to recipe and let cool. |
| Step 3 |
While, cookies are baking prepare icing following your royal icing recipe instructions. |
| Step 4 |
Tint 1/3 of your royal icing orange, 1/3 of your royal icing white with a touch of orange to get the “crust” colour, and 1/3 of your frosting white. All of these should be outline consistency (or toothpaste-like). |
| Step 5 |
Separate and thin half of your orange royal icing to be flood consistency by adding small amounts of water until you get it to the right consistency. This should be more of a shampoo-like consistency. |
| Step 6 |
Prepare four Sweet Sugarbelle™ piping bags and fill them with your different icings. |
| Step 7 |
Cut 1/6 of the tip off your orange royal icing and outline the cookie. Allow them to dry for 20-30 minutes before continuing. |
| Step 8 |
Grab your bag of flood consistency orange icing and cut 1/6 off the tip. Fill your cookie in, be careful not to overfill, and making sure to stay within the outline you created before. Use the pick tool from the basic tool set to smooth out any inconsistencies if needed. Allow your cookies to dry for 2-4 hours before adding final embellishments. |
| Step 9 |
After your base has had time to dry, carefully pipe the pie crust details on the edge of the cookie with the orange/white icing; then carefully add a swirl of white icing in the middle to look like whipped cream. Allow your cookies 5-10 hours to fully dry. |
Products


-
 You’ll Need: 1Item # 10685507
Promotions
$25.99 -

-

Products
- Prepared Sugar Cookie Recipe
- Prepared Royal Icing Recipe
- Food-Safe Scissors
| Step 1 |
Prepare your roll-out sugar cookie dough following recipe instructions. |
| Step 2 |
Cut out your cookies with a circle cookie cutter. Bake according to recipe and let cool. |
| Step 3 |
While, cookies are baking prepare icing following your royal icing recipe instructions. |
| Step 4 |
Tint 1/3 of your royal icing orange, 1/3 of your royal icing white with a touch of orange to get the “crust” colour, and 1/3 of your frosting white. All of these should be outline consistency (or toothpaste-like). |
| Step 5 |
Separate and thin half of your orange royal icing to be flood consistency by adding small amounts of water until you get it to the right consistency. This should be more of a shampoo-like consistency. |
| Step 6 |
Prepare four Sweet Sugarbelle™ piping bags and fill them with your different icings. |
| Step 7 |
Cut 1/6 of the tip off your orange royal icing and outline the cookie. Allow them to dry for 20-30 minutes before continuing. |
| Step 8 |
Grab your bag of flood consistency orange icing and cut 1/6 off the tip. Fill your cookie in, be careful not to overfill, and making sure to stay within the outline you created before. Use the pick tool from the basic tool set to smooth out any inconsistencies if needed. Allow your cookies to dry for 2-4 hours before adding final embellishments. |
| Step 9 |
After your base has had time to dry, carefully pipe the pie crust details on the edge of the cookie with the orange/white icing; then carefully add a swirl of white icing in the middle to look like whipped cream. Allow your cookies 5-10 hours to fully dry. |