

-

- Over an hour
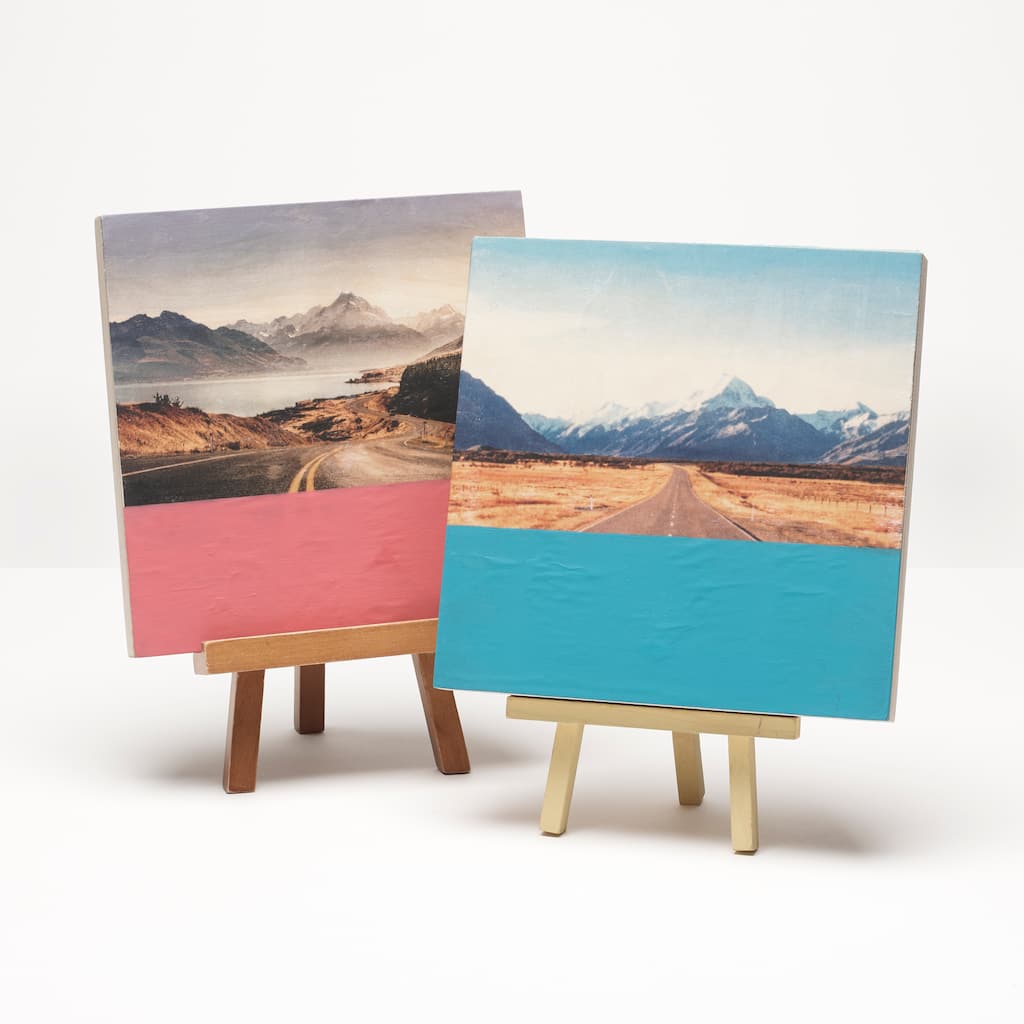
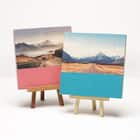
landscape photo transfer
| Step 1 |
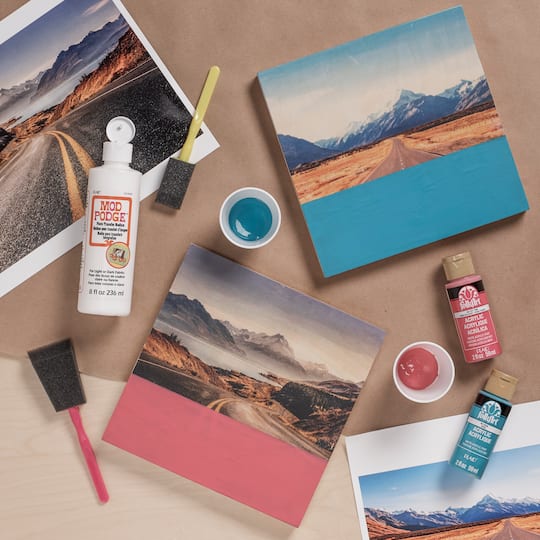
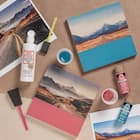
Cut photos to fit panels. |
| Step 2 |
Apply photo transfer medium with the foam brush on the front of photo. |
| Step 3 |
Now, place the photo face down onto the panel so that the front of the picture is now facing the panel. |
| Step 4 |
Smooth the back of the photo. Allow to dry for 24 hours. |
| Step 5 |
Dampen cloth and begin to get the paper wet. Remove a layer of the paper by gently rubbing paper in a circular motion. Allow to dry after each layer is removed and then continue with the same process until all the paper is gone and all you see is the photo. |
| Step 6 |
Tape off a third of the bottom of the picture and paint one aqua and the other hot pink. Let dry. |
-
 926203319You’ll Need: 1Item # 10002089
Promotions
$2.59- Color: 634 Hot Pink
- Size: 2 oz
- Color: 634 Hot Pink
- Size: 2 oz
- Color: 634 Hot Pink
- Size: 2 oz
-
 926203319You’ll Need: 1Item # 10257341
Promotions
$2.59- Color: 481 Aqua
- Size: 2 oz
- Color: 481 Aqua
- Size: 2 oz
- Color: 481 Aqua
- Size: 2 oz
-

-
 *No additional coupons or discounts may be applied.
Products
Products

- Tape
- 2 - Unfinished Wooden Painting Panels 6" x 6" x 1"
- Laser Jet Print – Landscapes
- Soft Cloth
| Step 1 |
Cut photos to fit panels. |
| Step 2 |
Apply photo transfer medium with the foam brush on the front of photo. |
| Step 3 |
Now, place the photo face down onto the panel so that the front of the picture is now facing the panel. |
| Step 4 |
Smooth the back of the photo. Allow to dry for 24 hours. |
| Step 5 |
Dampen cloth and begin to get the paper wet. Remove a layer of the paper by gently rubbing paper in a circular motion. Allow to dry after each layer is removed and then continue with the same process until all the paper is gone and all you see is the photo. |
| Step 6 |
Tape off a third of the bottom of the picture and paint one aqua and the other hot pink. Let dry. |