


-

- About 30 minutes
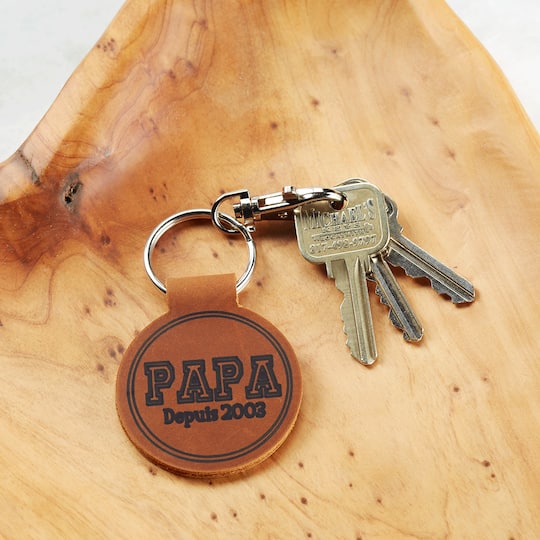
cricut® dad est. 2003 leather keychain
| Step 1 |
First, click here for the design in Cricut® Design Space™. |
| Step 2 |
Now, click ‘Make It’ in the upper right corner and then click ‘Continue’ in the lower right corner of your screen. |
| Step 3 |
Line the back (rough side) of your genuine leather with transfer tape to protect your mat. Place the leather, face up, onto a strong grip cutting mat. Change the material to ‘Genuine Leather’; then, install your deep blade housing into clamp B and a Cricut® 0.4 black pen in clamp A. Load your mat and follow the prompts to draw and cut out the key fob shape. |
| Step 4 |
Once the machine has finished drawing and cutting, gently peel the material away from your mat. |
| Step 5 |
Spread a thin layer of leather cement to the rough side of the leather key fob but leave the narrow section in the middle dry. Fold the key fob over push the glue covered rough sides together firmly. Let dry. TIP: Clean up any excess glue that may seep out from the edges. |
| Step 6 |
| Once it is dry, thread a snap hook onto a 1¼" split ring and then thread the split through the loop at the top of the keychain. Share your project photos with #MakeItWithMichaels |
Products


-
 20000939You’ll Need: 1Item # 10604223
Promotions
$0.99- Color: Black
- Size: 1 in
- Color: Black
- Size: 1 in
- Color: Black
- Size: 1 in
Products
- Computer
- Paper Towel
| Step 1 |
First, click here for the design in Cricut® Design Space™. |
| Step 2 |
Now, click ‘Make It’ in the upper right corner and then click ‘Continue’ in the lower right corner of your screen. |
| Step 3 |
Line the back (rough side) of your genuine leather with transfer tape to protect your mat. Place the leather, face up, onto a strong grip cutting mat. Change the material to ‘Genuine Leather’; then, install your deep blade housing into clamp B and a Cricut® 0.4 black pen in clamp A. Load your mat and follow the prompts to draw and cut out the key fob shape. |
| Step 4 |
Once the machine has finished drawing and cutting, gently peel the material away from your mat. |
| Step 5 |
Spread a thin layer of leather cement to the rough side of the leather key fob but leave the narrow section in the middle dry. Fold the key fob over push the glue covered rough sides together firmly. Let dry. TIP: Clean up any excess glue that may seep out from the edges. |
| Step 6 |
| Once it is dry, thread a snap hook onto a 1¼" split ring and then thread the split through the loop at the top of the keychain. Share your project photos with #MakeItWithMichaels |