
-

- About 30 minutes
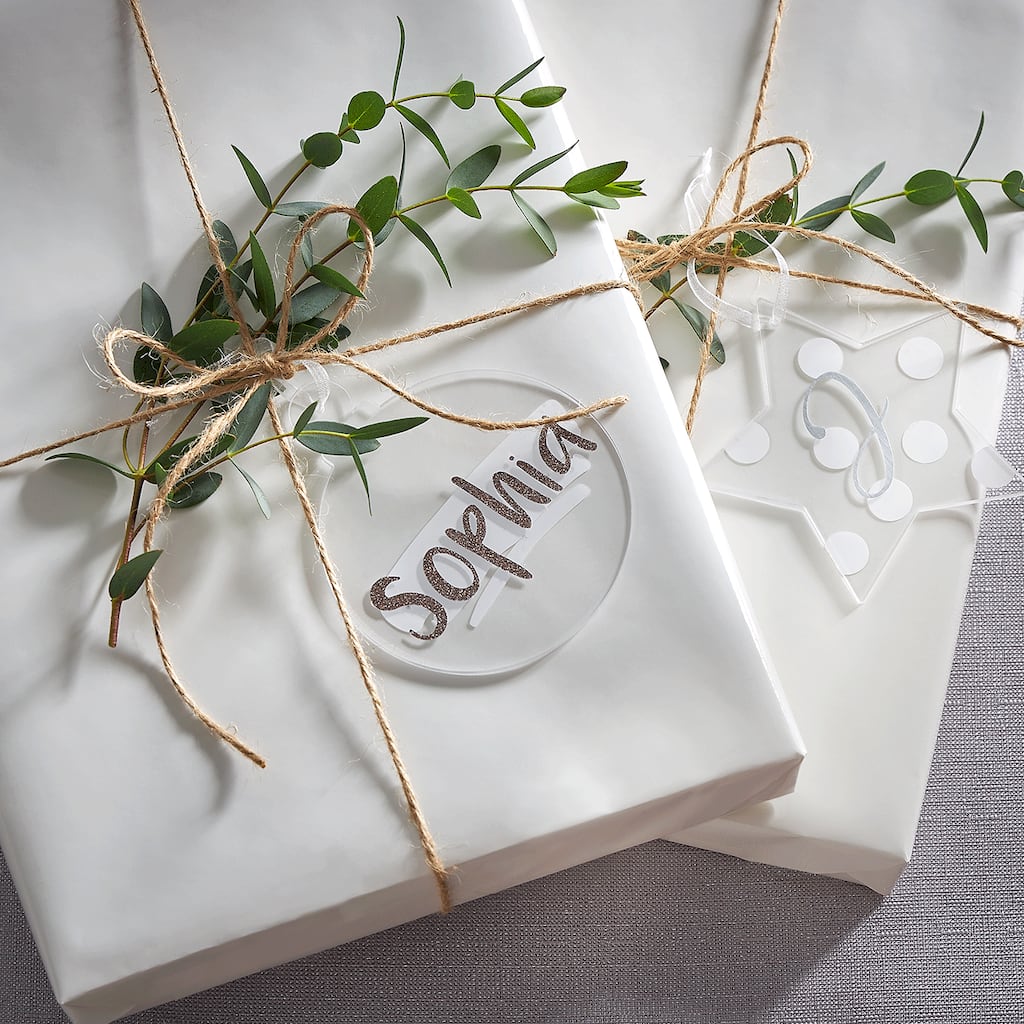
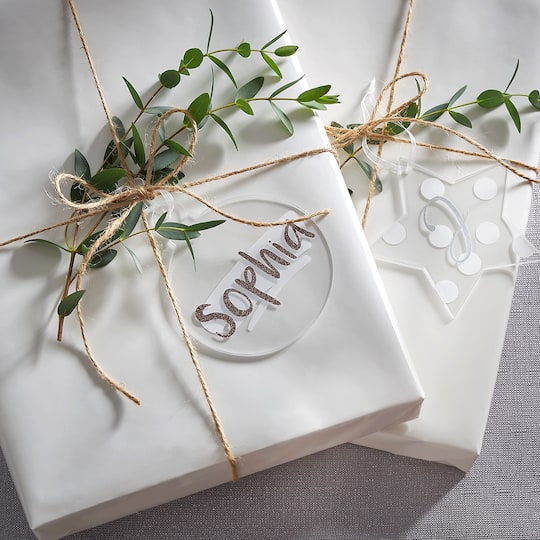
christmas acrylic ornament gift tags
| Step 1 |
First, log into your Cricut® Design Space™ account and click ‘New Project’. |
| Step 2 |
Next click on the ‘Text’ icon at the left side of your screen. Type the initial, monogram or name for your ornament then choose your font. Size to fit as desired on your ornament. |
| Step 3 |
If cutting from two different colours, assign colours to each piece of your design so your machine knows when to prompt you to change the vinyl on the cutting mat. |
| Step 4 |
Now, click ‘Make It’ in the upper right corner, and then click ‘Continue’ in the lower right corner of your screen. |
| Step 5 |
Place your sheet of vinyl, grid-side down, onto your cutting mat and load it into your Cricut® machine. Select ‘Vinyl’ as your material and follow the prompts to cut out your design. Once the machine has finished cutting, gently peel the vinyl away from your mat. Repeat for your second vinyl colour. |
| Step 6 |
Use scissors to cut away the vinyl around your design. Next, use your weeder tool to peel away the remaining negative space surrounding the design. When you’re done, only the design itself should be left on the backer paper. |
| Step 7 |
Cut a piece of transfer tape that’s just a bit larger than the design. Peel away the tape’s backer paper and place the tape, sticky-side down, over the cut-out design. Burnish the vinyl so that it’s completely stuck to the tape. |
| Step 8 |
Now, gently peel the white backer paper from the design, which now should be stuck to the transfer tape. |
| Step 9 |
Hold the transfer tape with the design over your ornament to determine where you’d like to place it. Make sure it is in the centre and straight; then press it onto your ornament. Burnish the vinyl once more to make sure it’s completely stuck to the ornament, and gently peel away the transfer tape. Your design has now been transferred to your ornament. |
| Step 10 |
Repeat Steps 6-8 additional layers. |
| Step 11 |
Use ribbon to attach the tags to gifts. |
-

-
 20002211You’ll Need: 1Item # 10498464$1.75$2.99
- Color: Gold
- Size: 12" x 12"
- Color: Gold
- Size: 12" x 12"
- Color: Gold
- Size: 12" x 12"
-
 20002211You’ll Need: 1Item # 10498463$1.75$2.99
- Color: Silver Grey
- Size: 12" x 12"
- Color: Silver Grey
- Size: 12" x 12"
- Color: Silver Grey
- Size: 12" x 12"
Products
Products


- Computer
| Step 1 |
First, log into your Cricut® Design Space™ account and click ‘New Project’. |
| Step 2 |
Next click on the ‘Text’ icon at the left side of your screen. Type the initial, monogram or name for your ornament then choose your font. Size to fit as desired on your ornament. |
| Step 3 |
If cutting from two different colours, assign colours to each piece of your design so your machine knows when to prompt you to change the vinyl on the cutting mat. |
| Step 4 |
Now, click ‘Make It’ in the upper right corner, and then click ‘Continue’ in the lower right corner of your screen. |
| Step 5 |
Place your sheet of vinyl, grid-side down, onto your cutting mat and load it into your Cricut® machine. Select ‘Vinyl’ as your material and follow the prompts to cut out your design. Once the machine has finished cutting, gently peel the vinyl away from your mat. Repeat for your second vinyl colour. |
| Step 6 |
Use scissors to cut away the vinyl around your design. Next, use your weeder tool to peel away the remaining negative space surrounding the design. When you’re done, only the design itself should be left on the backer paper. |
| Step 7 |
Cut a piece of transfer tape that’s just a bit larger than the design. Peel away the tape’s backer paper and place the tape, sticky-side down, over the cut-out design. Burnish the vinyl so that it’s completely stuck to the tape. |
| Step 8 |
Now, gently peel the white backer paper from the design, which now should be stuck to the transfer tape. |
| Step 9 |
Hold the transfer tape with the design over your ornament to determine where you’d like to place it. Make sure it is in the centre and straight; then press it onto your ornament. Burnish the vinyl once more to make sure it’s completely stuck to the ornament, and gently peel away the transfer tape. Your design has now been transferred to your ornament. |
| Step 10 |
Repeat Steps 6-8 additional layers. |
| Step 11 |
Use ribbon to attach the tags to gifts. |