
-

- Over an hour
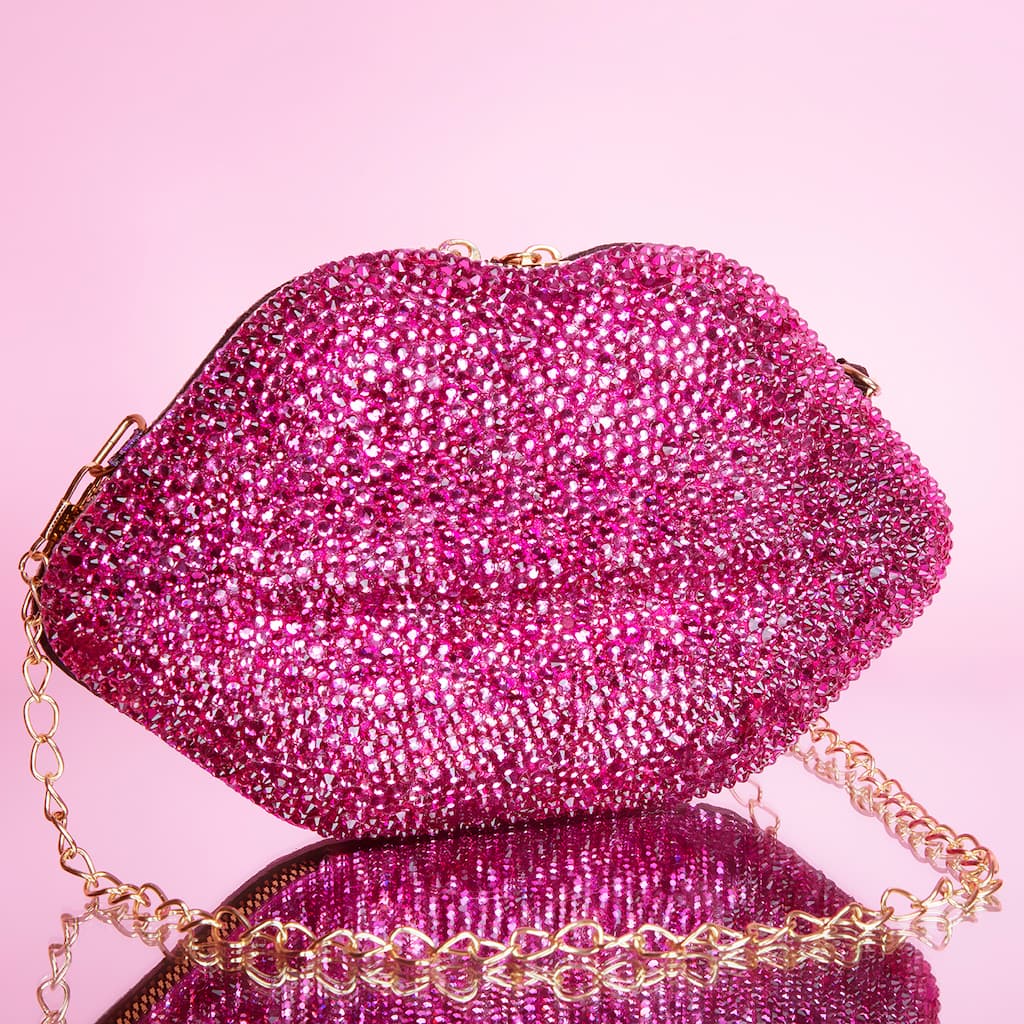
crystal lip purse
So many exciting ways to personalise your purse! Add some personality to your outfit with crystals on your lip purse!
| Step 1 |
Open and dump the crystals out face up to get ready to glue them onto the lip purse. |
| Step 2 |
Use your glue pen to start adding glue on the top left side of the purse. Work in 1” [2.5 cm] x 1” [2.5 cm] sections. You can use your finger to help spread out the glue. Let the glue get a little tacky to help the crystals stick better. |
| Step 3 |
Next, use your crystal pick-up stick to start placing the crystal flatbacks onto the glue. We placed crystals in no pattern. For a more fully crystalized look place crystals right next to each other, leaving no space in between them. For a more spread-out look, you can place the crystals approximately 0.25” [0.635 cm] apart and This will use less crystal. |
| Step 4 |
Work in 1” [2.5 cm] x 1” [2.5 cm] sections, repeating Steps 2-3 until the lip purse is completely covered from end to end. |
| Step 5 |
Let the glue dry for at least 12 hours before using the purse. |
-
 You’ll Need: 1Item # 10682689
Promotions
$9.99 -
 You’ll Need: 1Item # 10682691
Promotions
$9.99
Products
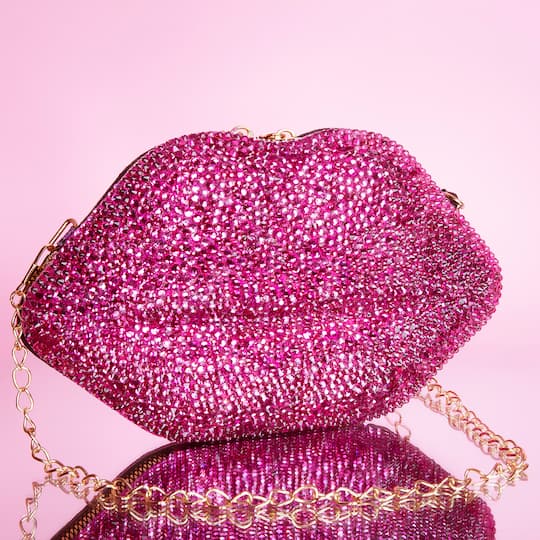
- Minimalist Lip Design Novelty Bag
| Step 1 |
Open and dump the crystals out face up to get ready to glue them onto the lip purse. |
| Step 2 |
Use your glue pen to start adding glue on the top left side of the purse. Work in 1” [2.5 cm] x 1” [2.5 cm] sections. You can use your finger to help spread out the glue. Let the glue get a little tacky to help the crystals stick better. |
| Step 3 |
Next, use your crystal pick-up stick to start placing the crystal flatbacks onto the glue. We placed crystals in no pattern. For a more fully crystalized look place crystals right next to each other, leaving no space in between them. For a more spread-out look, you can place the crystals approximately 0.25” [0.635 cm] apart and This will use less crystal. |
| Step 4 |
Work in 1” [2.5 cm] x 1” [2.5 cm] sections, repeating Steps 2-3 until the lip purse is completely covered from end to end. |
| Step 5 |
Let the glue dry for at least 12 hours before using the purse. |