
![[object Object]](https://imgs.michaels.com/MAM/assets/1/5E3C12034D34434F8A9BAAFDDF0F8E1B/img/869DE0D4EFE948B3ADD2BBF6A3CE1703/B_90719_1.jpg)
Wood Seed Bead Fringe Earrings
At a Glance
Over an hour
Category: Earrings
Beginner
Use your Cricut® machine to create base shapes for your earrings!
Share
Share
Instructions
ADDITIONAL MATERIALS
Computer
Ruler
Materials You Need
(1)
Materials Items:
$0.00
Tools You Need
(4)
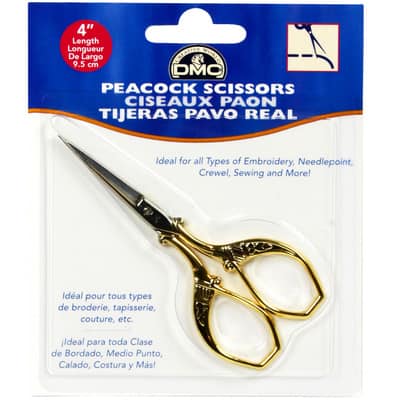
DMC® Peacock Scissors
$16.99
Save 30% off One Regular Price Item with code 300126240 - Exclusions apply
1 Required
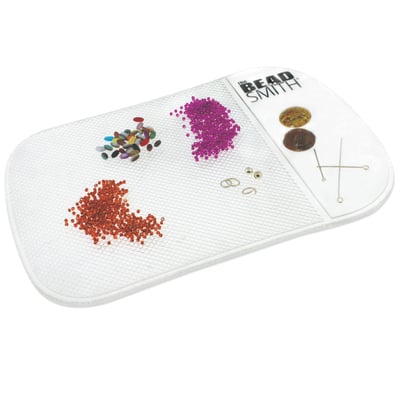
Bead Smith® Sticky Bead Mat®, Clear
$9.99
Save 30% off One Regular Price Item with code 300126240 - Exclusions apply
1 Required
Beadalon® Hard Beading Needles
$6.99
Save 30% off One Regular Price Item with code 300126240 - Exclusions apply
1 Required
Total Items:
$0.00