
![[object Object]](https://imgs.michaels.com/MAM/assets/1/5E3C12034D34434F8A9BAAFDDF0F8E1B/img/0BE7729EC0644D0785352FE204DBE015/B_90404_1.jpg)
Winter Scene Christmas Card
At a Glance
About 30 minutes
Category: Cards
Intermediate
Share
Share
Instructions
ADDITIONAL MATERIALS
Pencil
Materials You Need
(5)
Gelly Roll® Classic™ 08 Medium Point Gel Pen
$2.99
40% Off One Regular Price Item with code 408302024
1 Required
Recollections™ Adhesive Runner, Permanent
$7.49
40% Off One Regular Price Item with code 408302024
1 Required
Cards & Envelopes by Recollections™, 5" x 7"
$9.99
Buy One Get One 50% Off - Add two items to qualify
1 Required
Sale
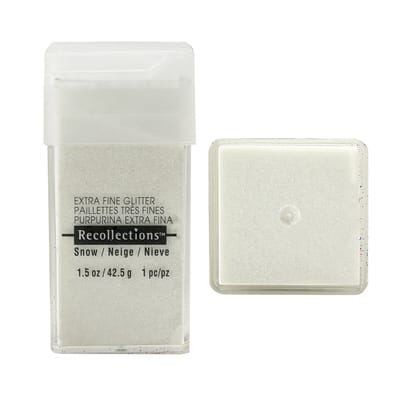
Extra Fine Glitter by Recollections™, 1.5oz.
$7.49
Buy One Get One 50% Off - Add two items to qualify
1 Required
Sale
Materials Items:
$0.00
Tools You Need
(4)
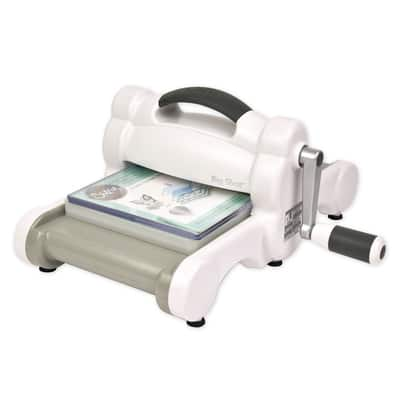
Sizzix® Gray & White Big Shot Machine
$189.99
Buy One Get One 50% Off - Add two items to qualify
1 Required
Sale

Teal Embossing Heat Tool by Recollections™
$42.99
Buy One Get One 50% Off - Add two items to qualify
1 Required
Sale
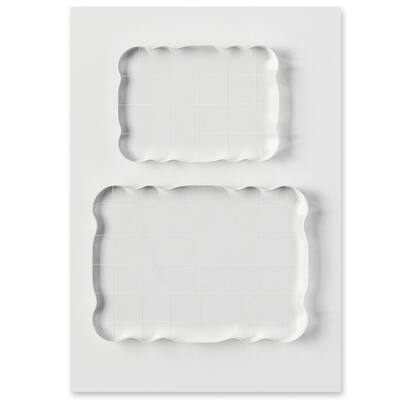
Acrylic Block Set by Recollections™
$17.99
Buy One Get One 50% Off - Add two items to qualify
1 Required
Sale
Total Items:
$0.00