
![[object Object]](https://imgs.michaels.com/MAM/assets/1/5E3C12034D34434F8A9BAAFDDF0F8E1B/img/0732ABC4B620474C9A87DBA5E3D18B4E/B_90741_1.jpg)
Valentine's Day Explosion Box
At a Glance
About an hour
Category: Paper Crafts
Beginner
Share
Share
Instructions
ADDITIONAL MATERIALS
Ruler
Pencil
1 - kraft explosion box by recollections™ (sku 10657169)
Materials You Need
(4)
Tombow Mono Multi Liquid Glue
$7.99
Save 30% off One Regular Price Item with code 300126240 - Exclusions apply
1 Required
Recollections™ Adhesive Runner, Permanent
$7.49
Save 30% off One Regular Price Item with code 300126240 - Exclusions apply
1 Required
Red, Pink & White Hearts Scrapbook Paper by Recollections®, 12" x 12"
$1.29
Save 30% off One Regular Price Item with code 300126240 - Exclusions apply
1 Required
Flamingo 8.5" x 11" Cardstock Paper by Recollections™, 50 Sheets
$11.99
Buy One Get One Free - Add two items to qualify
1 Required
Sale
Materials Items:
$0.00
Tools You Need
(2)
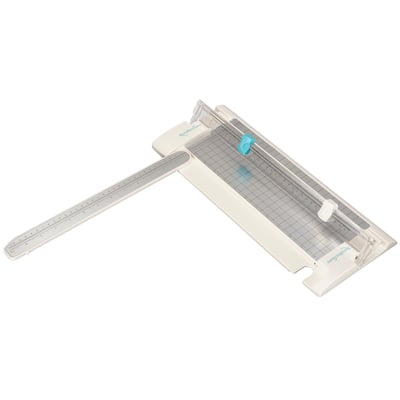
Signature Paper Trimmer By Recollections™
$34.99
Save 30% off One Regular Price Item with code 300126240 - Exclusions apply
1 Required
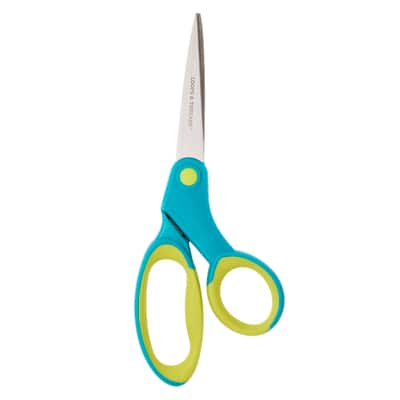
Loops & Threads™ Straight Scissors
$9.99
Save 30% off One Regular Price Item with code 300126240 - Exclusions apply
1 Required
Total Items:
$0.00