
![[object Object]](https://imgs.michaels.com/MAM/assets/1/5E3C12034D34434F8A9BAAFDDF0F8E1B/img/5C9170B96380455BB7FB24FAA2F2EB31/B_91211_1.jpg)
Three Mandala Liquid Clay Necklace
At a Glance
About an hour
Category: Necklaces
Beginner
Learn to create this beautiful mandala necklace with liquid clay!
Share
Share
Instructions
ADDITIONAL MATERIALS
Oven
Metal baking sheet
Disposable table cover (or wax paper/foil)
Materials You Need
(5)

Hamilton Gold Curb Chain Necklaces By Bead Landing™
$8.99
40% Off One Regular Price Item with code 408302024
1 Required
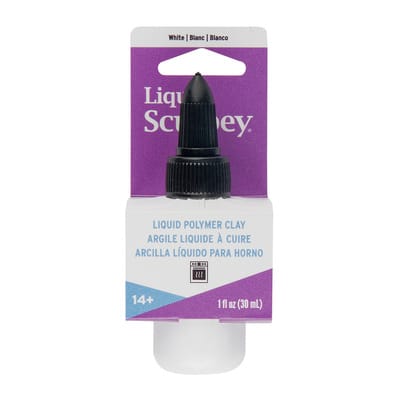
Liquid Sculpey® Liquid Polymer Clay
$5.99
40% Off One Regular Price Item with code 408302024
1 Required
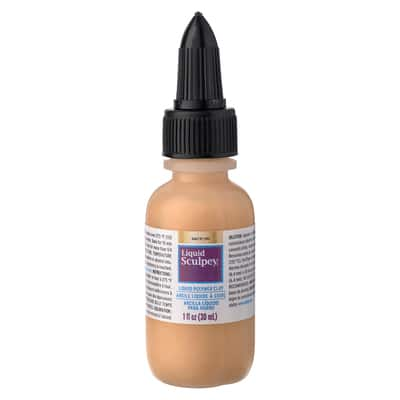
Liquid Sculpey® Liquid Polymer Clay
$5.99
40% Off One Regular Price Item with code 408302024
1 Required
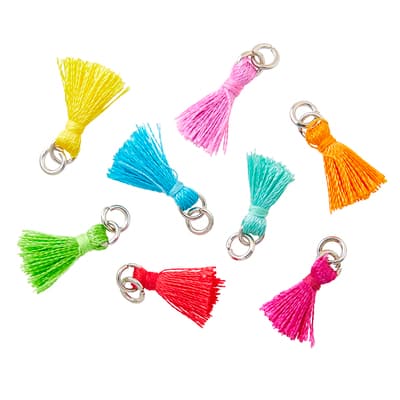
Charmalong™ Rhodium Tassel Charms by Bead Landing™
$6.99
40% Off One Regular Price Item with code 408302024
1 Required
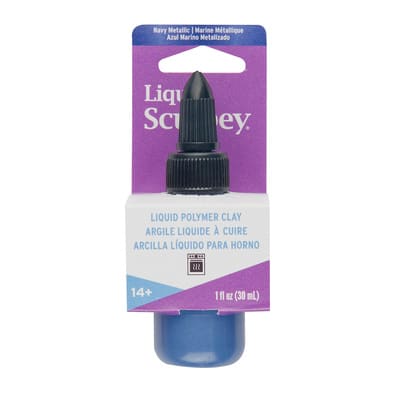
Liquid Sculpey® Liquid Polymer Clay
$5.99
40% Off One Regular Price Item with code 408302024
1 Required
Materials Items:
$0.00
Tools You Need
(1)
Total Items:
$0.00