sweet as pumpkin pie classroom bulletin board
Step 1 |
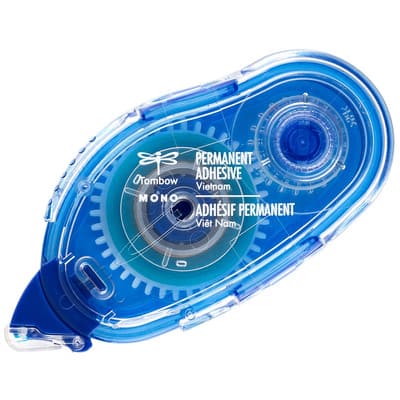
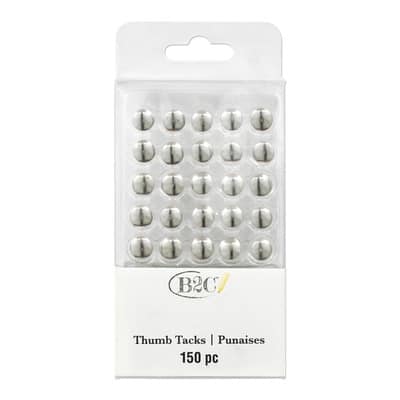
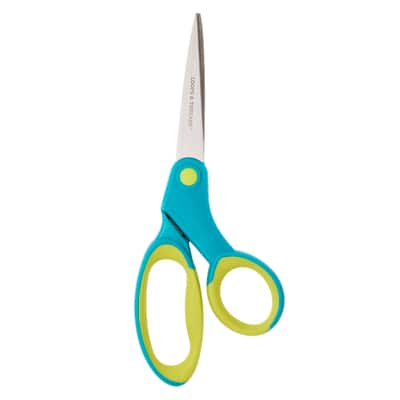
Use your the Cricut® Maker to cut out all your pieces for the board. Click here to go directly to the design in Cricut® Design Space™. TIP: Cut your white poster board down to make your "LEARNING IS" banner. Step 2 Cover your bulletin board with blue gift wrap to act as your background. Step 3 Trim outside edges of your bulletin board with pom-pom garland and ribbon to create a border. Step 4 Use a tape runner to adhere white paper rectangles to the back of each banner flag. Step 5 Cut two long pieces of baker's twine and thread the "SWEET AS" flags one one and "PUMPKIN PIE" on the other to assemble your banners. Tie a loop on the each end and hang across the center of your bulletin board with thumb tacks. Step 6 Now, use a tape runner to adhere your white "LEARNING IS" banner in the center of your bulletin board above your banners. Step 7 Adhere your pumpkins and pie slice in each of the bottom corners of your bulletin board. Step 8 Use scissors to cut a piece of transfer tape to fit over the solid part of the pie slice. Peel and stick it over the pie slice on the bulletin board. TIP: The transfer tape allows you to write students names with dry erase markers and clean off to re-use each week, in lieu of lamination. Step 9 Finish off the board by making little bows from ribbon to embellish the pumpkins and use a tape runner to attach. TIP: If needed, secure the bows with a little glue. |
- Computer
- 1 - Kraft Gift Wrap Paper by Celebrate It™ (SKU 10105128)
- 1 - 7/8" Taffeta Gingham Ribbon by Celebrate It® 360°™ (SKU 10387942)
- 1 - ORACAL® ORATAPE® MT80P Transfer Tape (SKU 10547287)
Step 1 |
Use your the Cricut® Maker to cut out all your pieces for the board. Click here to go directly to the design in Cricut® Design Space™. TIP: Cut your white poster board down to make your "LEARNING IS" banner. Step 2 Cover your bulletin board with blue gift wrap to act as your background. Step 3 Trim outside edges of your bulletin board with pom-pom garland and ribbon to create a border. Step 4 Use a tape runner to adhere white paper rectangles to the back of each banner flag. Step 5 Cut two long pieces of baker's twine and thread the "SWEET AS" flags one one and "PUMPKIN PIE" on the other to assemble your banners. Tie a loop on the each end and hang across the center of your bulletin board with thumb tacks. Step 6 Now, use a tape runner to adhere your white "LEARNING IS" banner in the center of your bulletin board above your banners. Step 7 Adhere your pumpkins and pie slice in each of the bottom corners of your bulletin board. Step 8 Use scissors to cut a piece of transfer tape to fit over the solid part of the pie slice. Peel and stick it over the pie slice on the bulletin board. TIP: The transfer tape allows you to write students names with dry erase markers and clean off to re-use each week, in lieu of lamination. Step 9 Finish off the board by making little bows from ribbon to embellish the pumpkins and use a tape runner to attach. TIP: If needed, secure the bows with a little glue. |