
![[object Object]](https://imgs.michaels.com/MAM/assets/1/5E3C12034D34434F8A9BAAFDDF0F8E1B/img/DC1F76D1BB9144F7B691EA1FACB1C709/B_90305_1.jpg)
Shadow Box "Vision Board"
At a Glance
About 30 minutes
Category: Frames
Beginner
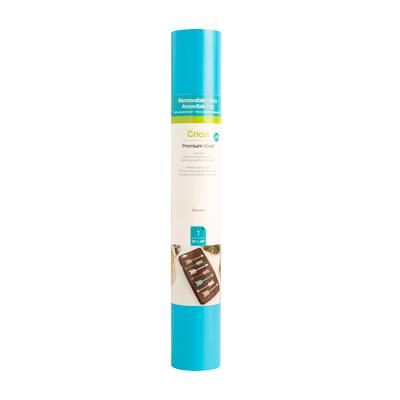
Any time is a good time to make a vision board, but the beginning of a new year is the best! Create this shadow box by adding photos, items or anything that will help you keep your goals in the forefront. You can personalise further by adding words to the front glass using your Cricut® and vinyl.
Share
Share
Instructions
ADDITIONAL MATERIALS
Computer
Ruler
Pencil
Materials You Need
(1)
Materials Items:
$0.00
Tools You Need
(4)
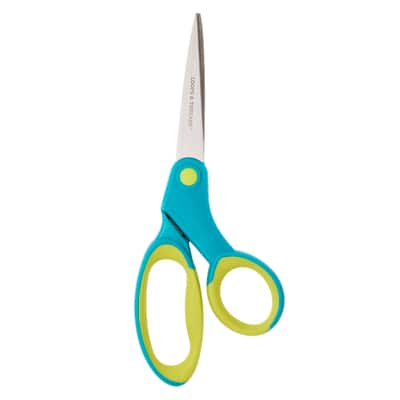
Loops & Threads™ Straight Scissors
$9.99
Extra 20% Off Regular & Sale Price Purchase with code 8232525
1 Required
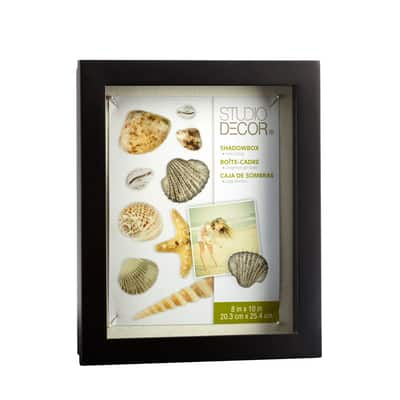
Black Front Opening Shadow Box By Studio Décor®
$14.99
Reg.$24.99
Extra 20% Off Regular & Sale Price Purchase with code 8232525
1 Required
Sale

Total Items:
$0.00