
![[object Object]](https://imgs.michaels.com/MAM/assets/1/5E3C12034D34434F8A9BAAFDDF0F8E1B/img/D567B13353544672877900BC54521AEB/B_91130_1.jpg)
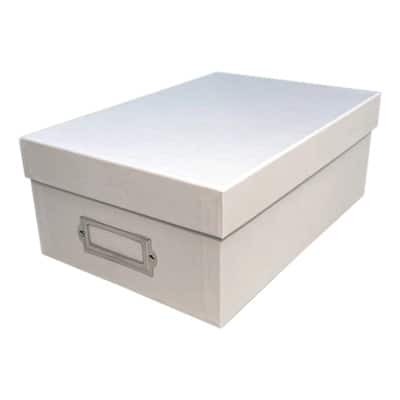
Ribbon Box Storage
At a Glance
Over an hour
Category: Organization
Intermediate
Create this bright storage solution for an easy way to organise your ribbons.
Share
Share
Instructions
ADDITIONAL MATERIALS
Materials You Need
(4)

Aleene's® Quick Dry Tacky Glue™
$4.99
30% off one Regular Price Purchase with code 10212330
1 Required
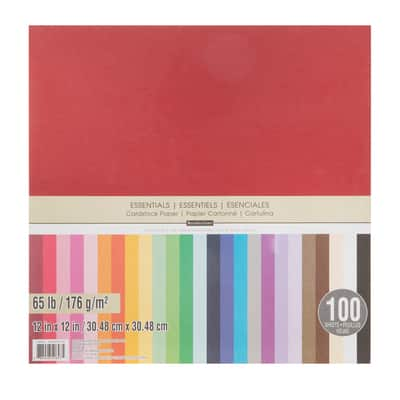
Essentials 12" x 12" Cardstock Paper by Recollections™, 100 Sheets
$29.99
30% off one Regular Price Purchase with code 10212330
1 Required

Recollections™ Adhesive Tape Runner, Permanent
$7.49
30% off one Regular Price Purchase with code 10212330
1 Required
Materials Items:
$0.00
Tools You Need
(1)
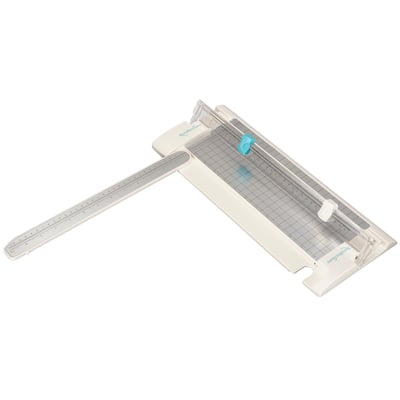
Signature Paper Trimmer By Recollections™
$34.99
30% off one Regular Price Purchase with code 10212330
1 Required
Total Items:
$0.00