
![[object Object]](https://imgs.michaels.com/MAM/assets/1/5E3C12034D34434F8A9BAAFDDF0F8E1B/img/1573FEA6D00447948599E0F3CB244E59/B_89946_1.gif)
Red Glittery Santa Cam Ornament
At a Glance
About 30 minutes
Category: Cricut®
Beginner
Make this super cute ornament to place on your Christmas tree this year! Choose from a variety of glitter colours for the inside of your ornament to match your tree décor!
Share
Share
Instructions
ADDITIONAL MATERIALS
Computer
paper towels
disposal cup (optional)
water
1 - aleene's® diy glitter ornament adhesive™ (10409992)
1 - cricut® maker™
champagne (d233282s)
Materials You Need
(3)
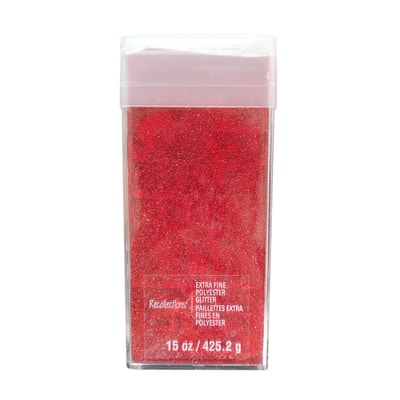
Extra Fine Polyester Glitter by Recollections™, 15oz.
$23.99
30% Off One Regular Price Item with code 5012930
1 Required
Materials Items:
$0.00
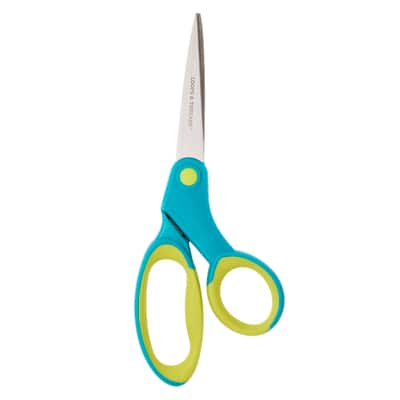
Tools You Need
(2)
Total Items:
$0.00
We would love to hear from you!