
![[object Object]](https://imgs.michaels.com/MAM/assets/1/5E3C12034D34434F8A9BAAFDDF0F8E1B/img/BF2CD088AA504C5F8D9395CBD9329EFE/B_91398_1.jpg)
Liquid Sculpey® Teardrop Earrings
At a Glance
Over an hour
Category: Earrings
Beginner
Share
Share
Instructions
ADDITIONAL MATERIALS
Workspace covering
Oven
Oven thermometer
Paper towel
Materials You Need
(5)
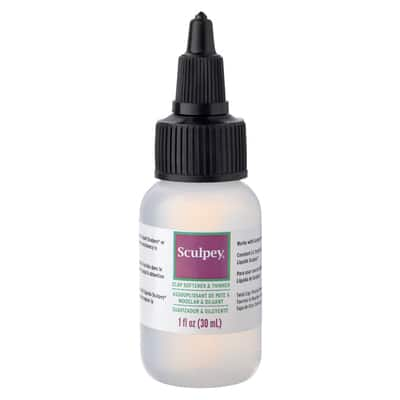
Sculpey® Liquid Clay Softener
$8.99
Save 30% off One Regular Price Item with code 300126240 - Exclusions apply
1 Required
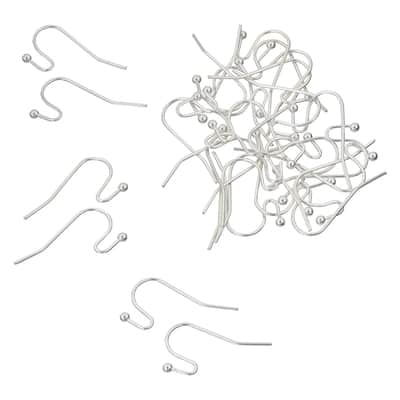
9mm Fish Hook Ear Wires by Bead Landing™
$4.99
Save 30% off One Regular Price Item with code 300126240 - Exclusions apply
1 Required
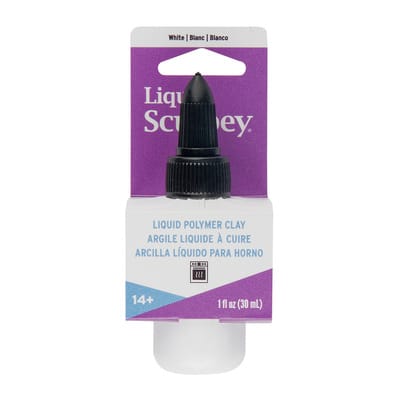
Liquid Sculpey® Liquid Polymer Clay
$5.99
Save 30% off One Regular Price Item with code 300126240 - Exclusions apply
1 Required
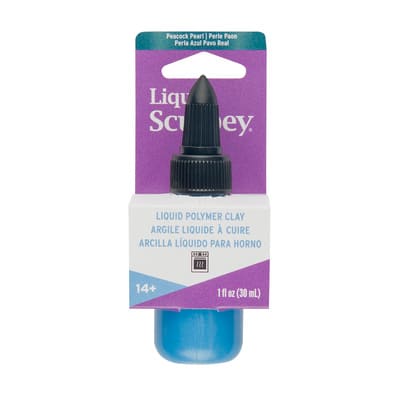
Liquid Sculpey® Liquid Polymer Clay
$5.99
Save 30% off One Regular Price Item with code 300126240 - Exclusions apply
1 Required
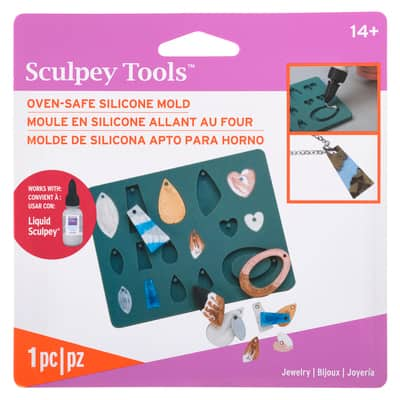
Sculpey Tools® Oven-Safe Silicone Jewel Mould
$15.99
Save 30% off One Regular Price Item with code 300126240 - Exclusions apply
1 Required
Materials Items:
$0.00
Tools You Need
(2)
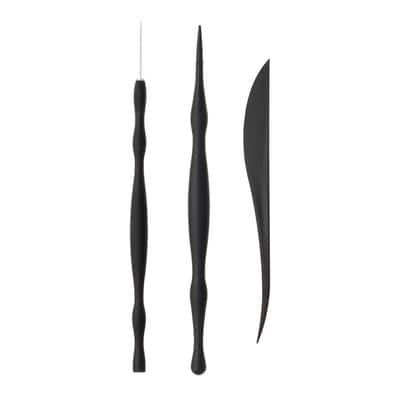
Sculpey® Clay Tool Starter Set
$16.99
Save 30% off One Regular Price Item with code 300126240 - Exclusions apply
1 Required
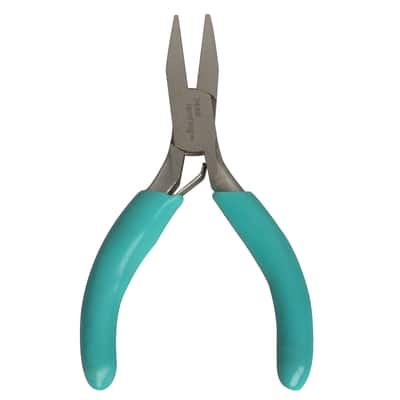
Mini Flat Nose Pliers by Bead Landing™
$7.99
Save 30% off One Regular Price Item with code 300126240 - Exclusions apply
1 Required
Total Items:
$0.00