
![[object Object]](https://imgs.michaels.com/MAM/assets/1/5E3C12034D34434F8A9BAAFDDF0F8E1B/img/9E00B3AEAF7042A5A8D46A9D8D8A7A22/B_89609_1.jpg)
Lion Brand® Wool-Ease® Thick & Quick® Zebra Print Crochet Scarf
At a Glance
Over an hour
Category: Scarves
Advanced
This crochet scarf is a little wild and a lot of fun as it uses two colours of Wool-Ease® Thick & Quick® to create a subtle zebra print.
Share
Share
Instructions
ADDITIONAL MATERIALS
Materials You Need
(2)
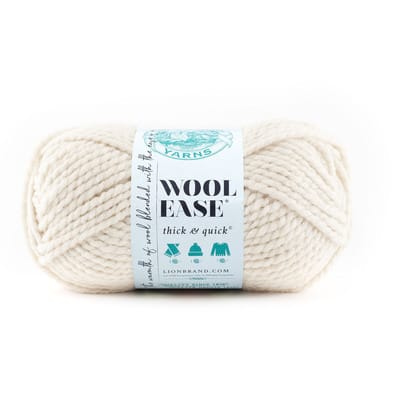
Lion Brand® Wool-Ease® Thick & Quick® Yarn, Solids
$9.99
Save 30% off One Regular Price Item with code 300126240 - Exclusions apply
3 Required
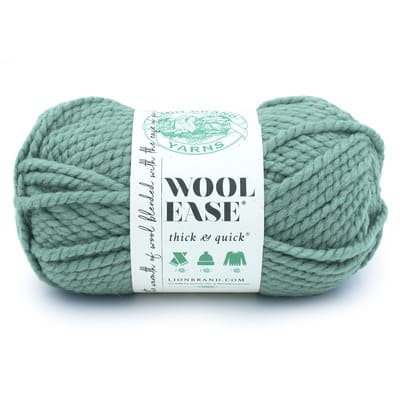
Lion Brand® Wool-Ease® Thick & Quick® Solid Yarn
$9.99
Save 30% off One Regular Price Item with code 300126240 - Exclusions apply
1 Required
Materials Items:
$0.00
Tools You Need
(2)
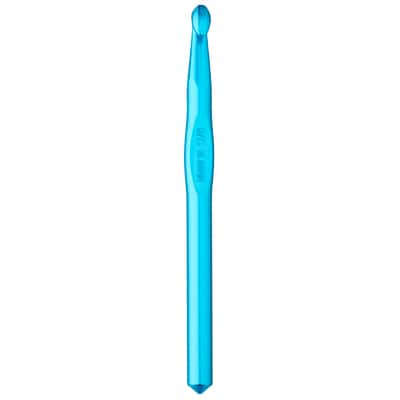
Anodized Aluminum Crochet Hook by Loops & Threads®
$3.49
Save 30% off One Regular Price Item with code 300126240 - Exclusions apply
1 Required
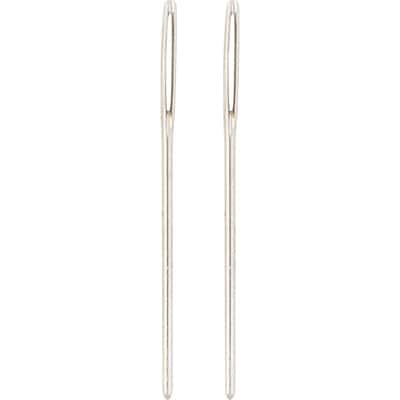
Steel Yarn Needles by Loops & Threads™
$1.99
Save 30% off One Regular Price Item with code 300126240 - Exclusions apply
1 Required
Total Items:
$0.00