
![[object Object]](https://imgs.michaels.com/MAM/assets/1/5E3C12034D34434F8A9BAAFDDF0F8E1B/img/8E793421BA71400397327E04EA739102/B_90277_1.gif)
Kids Upcycled Turkey Gratitude Box
At a Glance
About 30 minutes
Category: Craft Ideas
Beginner
This project is intended for kids ages 6+. What's cuter than a handmade turkey for Thanksgiving? A handmade turkey that you can hold all of your thanks and gratitude! Everyone can write what they're thankful for and drop it in this turkey! Then have fun pulling them out and reading them!
Share
Share
Instructions
ADDITIONAL MATERIALS
Cube-shaped recycled tissue box
computer
printer
paper plate (or paint palette)
pencil
Materials You Need
(5)
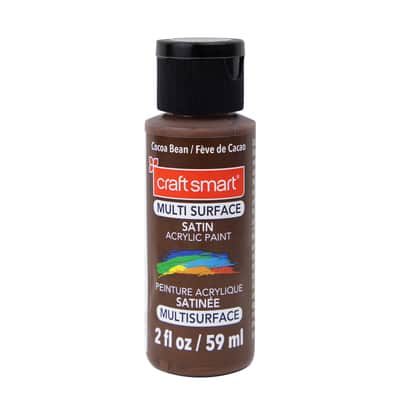
2oz. Multi-Surface Premium Satin Acrylic Paint by Craft Smart®
$1.99
40% Off One Regular Price Item with code 408302024
1 Required
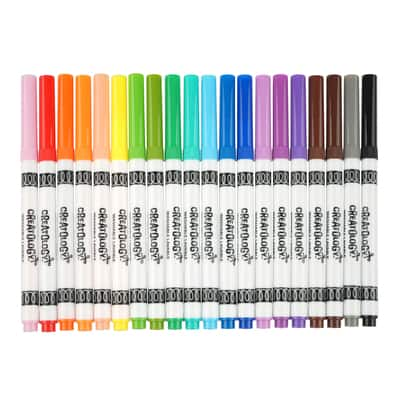
20 Colour Round Tip Washable Marker Set by Creatology®
$6.99
Buy One Get One 50% Off - Add two items to qualify
1 Required
Sale
Materials Items:
$0.00
Tools You Need
(1)
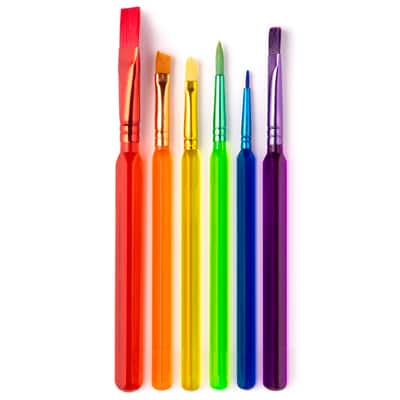
Triangle Paint Brushes by Creatology®
$5.49
Buy One Get One 50% Off - Add two items to qualify
1 Required
Sale
Total Items:
$0.00