
![[object Object]](https://imgs.michaels.com/MAM/assets/1/5E3C12034D34434F8A9BAAFDDF0F8E1B/img/98CE7F2C304645A8967B96869F401D0E/B_89807_1.gif)
Kids Rainbow Costume
At a Glance
Over an hour
Category: Costumes
Beginner
Share
Share
Instructions
ADDITIONAL MATERIALS
Computer
Printer
Ruler
Pencil
Paper plate (or paint palette)
Materials You Need
(9)
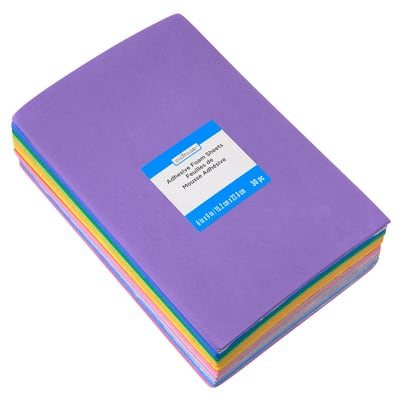
Brights 6" x 9" Adhesive Foam Sheets Value Pack by Creatology™, 30 Sheets
$12.99
40% Off One Regular Price Item with code 408302024
1 Required

4" Mini Dual Temperature Glue Sticks by Ashland®
$4.99
40% Off One Regular Price Item with code 408302024
1 Required
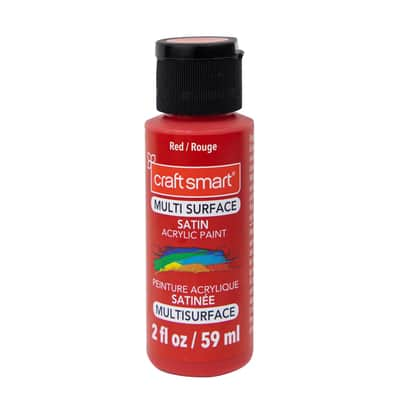
2oz. Multi-Surface Premium Satin Acrylic Paint by Craft Smart®
$1.99
40% Off One Regular Price Item with code 408302024
1 Required
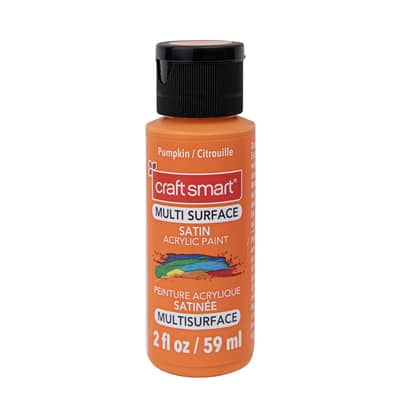
2oz. Multi-Surface Premium Satin Acrylic Paint by Craft Smart®
$1.99
40% Off One Regular Price Item with code 408302024
1 Required
2oz. Multi-Surface Premium Satin Acrylic Paint by Craft Smart®
$1.99
40% Off One Regular Price Item with code 408302024
1 Required
2oz. Multi-Surface Premium Satin Acrylic Paint by Craft Smart®
$1.99
40% Off One Regular Price Item with code 408302024
1 Required
2oz. Multi-Surface Premium Satin Acrylic Paint by Craft Smart®
$1.99
40% Off One Regular Price Item with code 408302024
1 Required
2oz. Multi-Surface Premium Satin Acrylic Paint by Craft Smart®
$1.99
40% Off One Regular Price Item with code 408302024
1 Required
Materials Items:
$0.00
Tools You Need
(4)
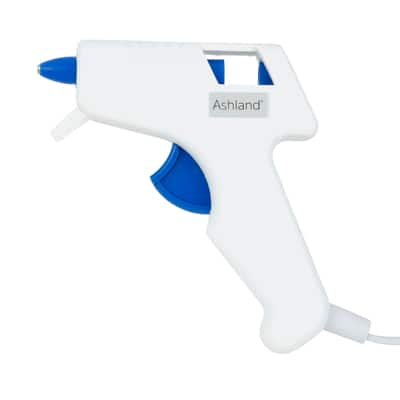
Mini Low Temperature Glue Gun by Ashland®
$4.99
40% Off One Regular Price Item with code 408302024
1 Required
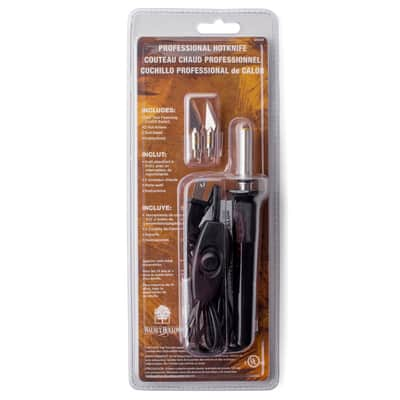
Walnut Hollow® Professional HotKnife
$29.99
40% Off One Regular Price Item with code 408302024
1 Required
Total Items:
$0.00