holiday recipe paper bag book
Step 1 |
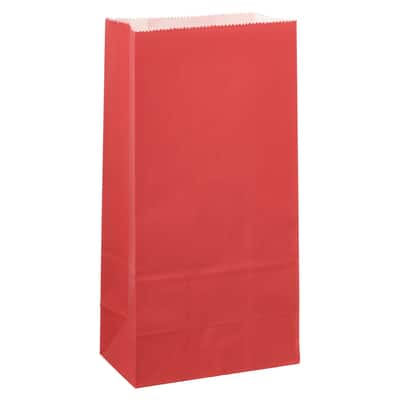
Separately fold three bags in half. |
Step 2 |
Lay the bags in opposite directions on top of each other. |
Step 3 |
Fold the stacked bags in half to make the book. |
Step 4 |
Staple at the edge of the fold to secure the book. |
Step 5 |
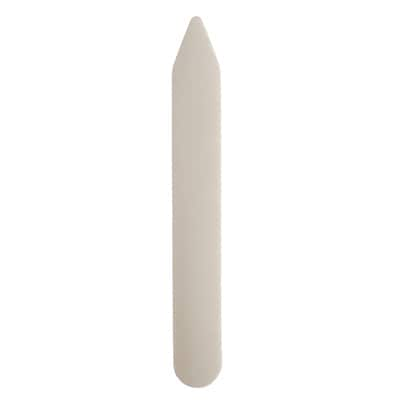
Lay a piece of your ribbon over the stapled edge and using your bone folder make a crease for the book to fold back close to where the ribbon edge lays. |
Step 6 |
Cut a piece of your ribbon to your desired length and adhere it to your paper bag book. Use the image as your guide. Tie a knot as shown in the image. |
Step 7 |
Decorate the cover by cutting out a piece of the pattern paper to fit your book. |
Step 8 |
Ink the edges with of the cut pattern paper Vintage Photo ink and adhere to the cover of the book. |
Step 9 |
Cut a piece of the kraft cardstock and ink the edges with Vintage Photo ink and set aside. |
Step 10 |
Ink three long pieces of the PrintMaker™ ribbon to make it look distressed and set aside to dry. |
Step 11 |
In the PrintMaker™ app, design the family name and saying for each line on the cover. |
Step 12 |
Using the ribbon & washi guide, weave one of the inked ribbons through the correct size guide and slide the PrintMaker™ along the length of the ribbon to print the first ribbon. Downward pressure isn’t necessary. Repeat with the other two inked ribbons and sayings. |
Step 13 |
Adhere the printed ribbons onto the inked kraft cardstock. |
Step 14 |
Adhere the inked kraft cardstock to the cover of your book. |
Step 15 |
Ink the edges of the book with Vintage Photo ink and continue throughout the book. Let dry. |
Step 16 |
Decorate the remaining pages with the stickers and pattern paper to your desired size and look. |
Step 17 |
Adhere recipes to the decorated inside pages. |
Step 18 |
Cut a piece of the kraft cardstock to fit inside the book pockets and staple a piece of the ribbon to make a tab. |
Step 19 |
Ink the kraft cardstock edges and then adhere recipes or photos to the kraft cardstock and place inside the book pockets. |