
![[object Object]](https://imgs.michaels.com/MAM/assets/1/5E3C12034D34434F8A9BAAFDDF0F8E1B/img/35B979255F1A4AD3BCC5D367EB6F0B06/B_92393_1.jpg)
Hello Spring Metal Wreath
At a Glance
About an hour
Category: Wreaths
Intermediate
Welcome Spring by making a trendy new wreath of flowers and butterflies. This is the perfect accent to a wall that could use a little cheer.
Share
Share
Instructions
ADDITIONAL MATERIALS
1 - peony
hydrangea & dahlia cone by ashland® (10611036)
1 - assorted feather butterfly by ashland® (10681136)
Materials You Need
(2)

4" Mini Dual Temperature Glue Sticks by Ashland®
$4.99
40% Off One Regular Price Item with code 408302024
1 Required
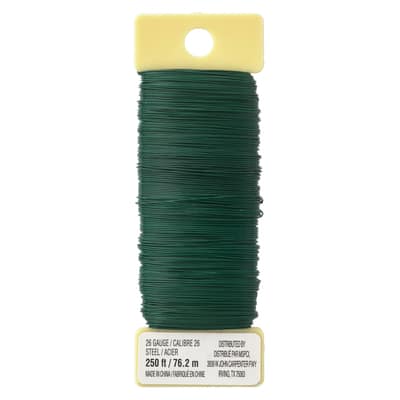
Panacea™ Green Floral Wire, 26 Gauge
$3.99
40% Off One Regular Price Item with code 408302024
1 Required
Materials Items:
$0.00
Tools You Need
(2)
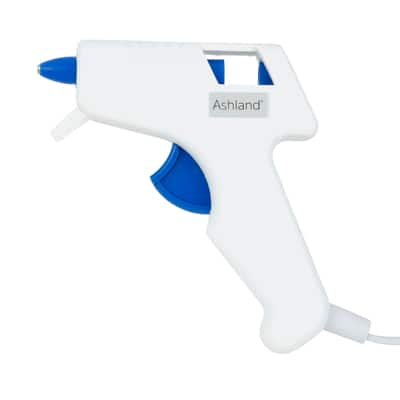
Mini Low Temperature Glue Gun by Ashland®
$4.99
40% Off One Regular Price Item with code 408302024
1 Required
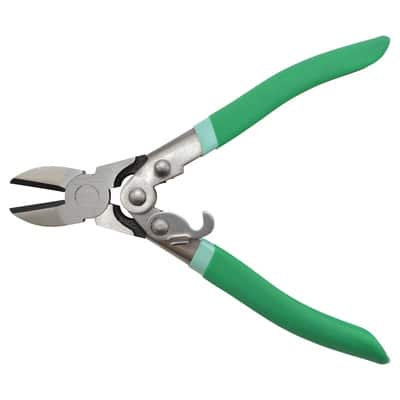
8" Compound Action Pliers by Ashland™
$34.99
40% Off One Regular Price Item with code 408302024
1 Required
Total Items:
$0.00