
![[object Object]](https://imgs.michaels.com/MAM/assets/1/5E3C12034D34434F8A9BAAFDDF0F8E1B/img/1D03BEE8DEDF4B26969372D4927D916F/B_89752_1.gif)
Halloween Memories Shadow Box
At a Glance
About an hour
Category: Décor
Beginner
Reflect on a past Halloween memory by making a shadow box that can be part of your decorations. It will look so cute on a shelf, mantel or hung on your wall!
Share
Share
Instructions
ADDITIONAL MATERIALS
Computer
printer
ruler
Materials You Need
(4)

Recollections™ Adhesive Tape Runner, Permanent
$7.49
30% Off One Regular Price Item with code 5012930
1 Required

Linen Paper by Recollections™, 12" x 12"
$1.29
30% Off One Regular Price Item with code 5012930
1 Required

Materials Items:
$0.00
Tools You Need
(1)
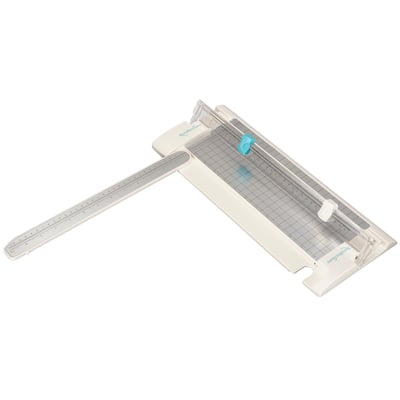
Signature Paper Trimmer By Recollections™
$34.99
30% Off One Regular Price Item with code 5012930
1 Required
Total Items:
$0.00
We would love to hear from you!