
![[object Object]](https://imgs.michaels.com/MAM/assets/1/5E3C12034D34434F8A9BAAFDDF0F8E1B/img/FB11AA1536864CC7801933A4B8129D8D/B_90704_1.jpg)
Greenery Seed Bead Bracelet
At a Glance
Over an hour
Category: Bracelets
Advanced
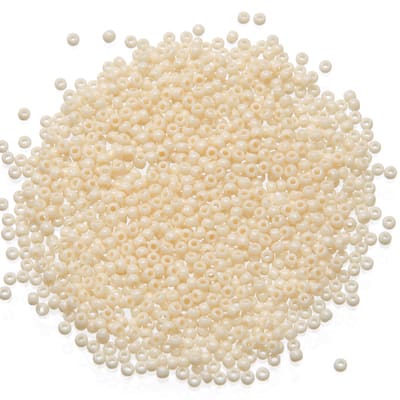
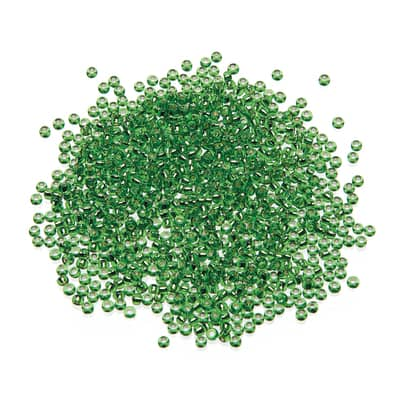
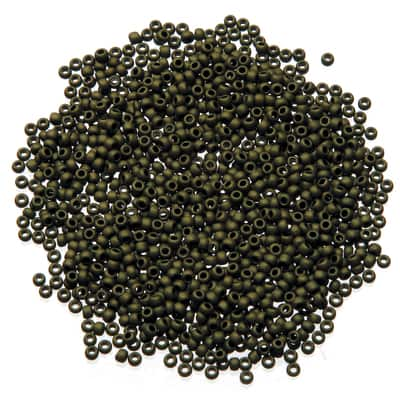
Use seed beads in nature-inspired shades of green to make this advanced odd count peyote stitch Greenery Seed Bead Bracelet.
Share
Share
Instructions
ADDITIONAL MATERIALS
Computer
Printer (optional)
Ruler
Materials You Need
(5)

The Beadsmith® Fireline® Braided Bead Thread Set, Crystal
$19.99
30% Off One Regular Price Item with code 5012930
1 Required
Materials Items:
$0.00
Tools You Need
(1)
Total Items:
$0.00
We would love to hear from you!