
![[object Object]](https://imgs.michaels.com/MAM/assets/1/5E3C12034D34434F8A9BAAFDDF0F8E1B/img/624973F0EA454D4FA9EACF5C543923C1/B_88960_1.gif)
Flower Natural Gift Box
At a Glance
About 30 minutes
Category: Jewellery Ideas
Beginner
Share
Share
Instructions
ADDITIONAL MATERIALS
Emery board
turpentine
ruler
Materials You Need
(3)
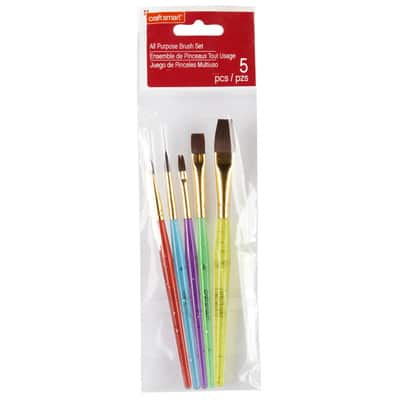
Craft Smart® All Purpose Brush Set
$4.99
Save 30% off One Regular Price Item with code 300126240 - Exclusions apply
1 Required

4" Mini Dual Temperature Glue Sticks by Ashland®
$4.99
Save 30% off One Regular Price Item with code 300126240 - Exclusions apply
1 Required
9" x 12" Basic Felt by Creatology™
$0.69
Save 30% off One Regular Price Item with code 300126240 - Exclusions apply
1 Required
Materials Items:
$0.00
Tools You Need
(2)
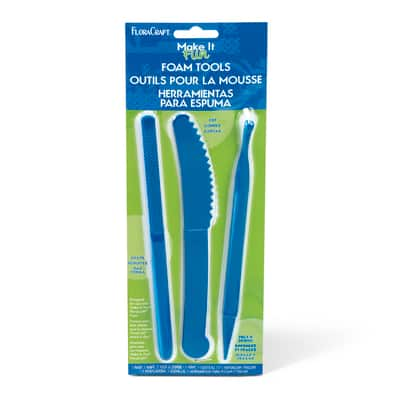
FloraCraft® Foam Tools - Knife, Rasp, Tuck & Scribe
$9.99
Save 30% off One Regular Price Item with code 300126240 - Exclusions apply
1 Required
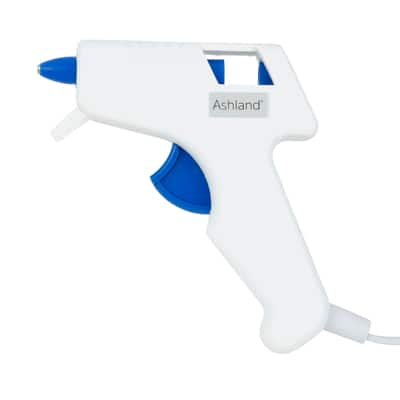
Mini Low Temperature Glue Gun by Ashland®
$4.99
Save 30% off One Regular Price Item with code 300126240 - Exclusions apply
1 Required
Total Items:
$0.00