
![[object Object]](https://imgs.michaels.com/MAM/assets/1/5E3C12034D34434F8A9BAAFDDF0F8E1B/img/E022CFE51D6A4A4FB2260BA62D0CD011/B_94198_1.jpg)
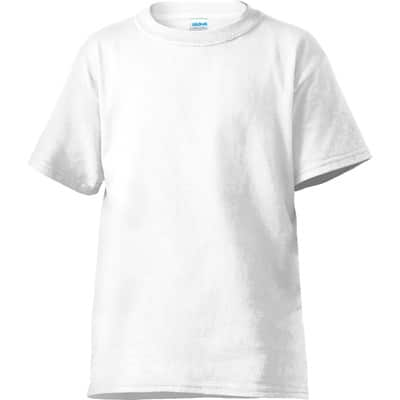
Feelin' Groovy Ice-Dyed T-Shirt
At a Glance
About an hour
Category: T-Shirts
Beginner
Use ice to make unique designs with powdered dye onto a t-shirt. Add a groovy phrase embellishment with iron-on vinyl.
Share
Share
Instructions
ADDITIONAL MATERIALS
Computer
disposable tablecloth
plastic container
washer/dryer
ice
spoon
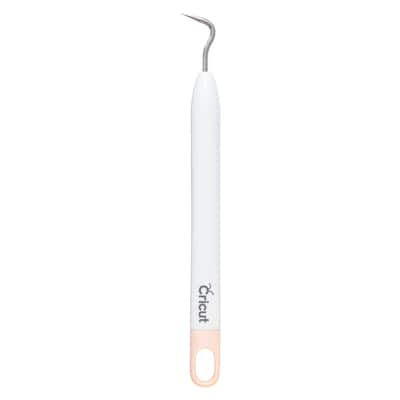
1 - cricut® weeder (d228010s)
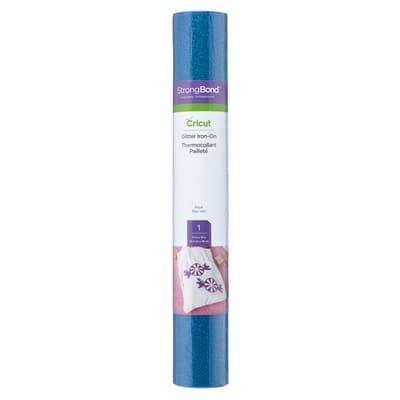
1 - cricut® iron-on glitter (d032583s)
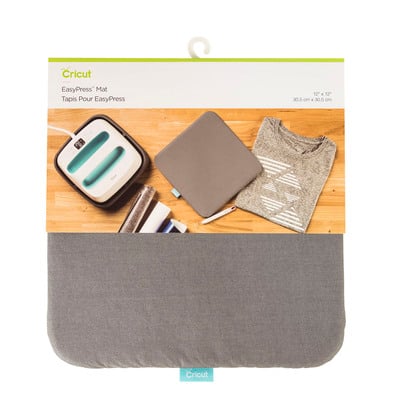
1 - 12" x 12"
cricut easypress® mat (d040392s)
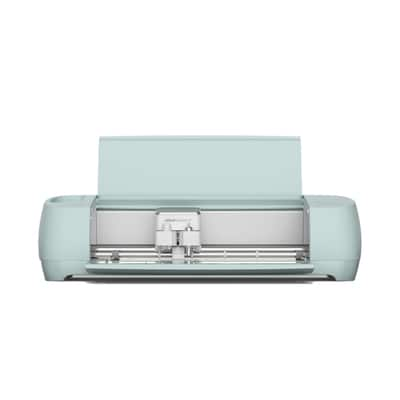
1 - cricut explore® 3 (d383140s)
1 - 12" x 24"
cricut® everyday iron-on (d506293s)
1 - 12" x 24"
cricut® everyday iron-on (d213124s)
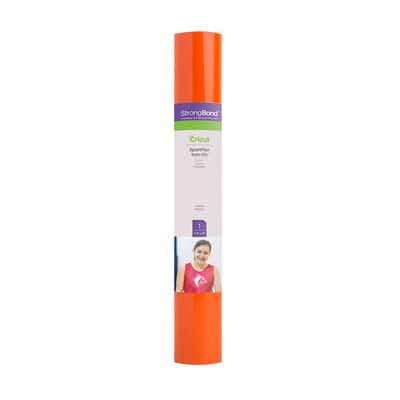
1 - cricut® sportflex iron-on™ (d078259s)
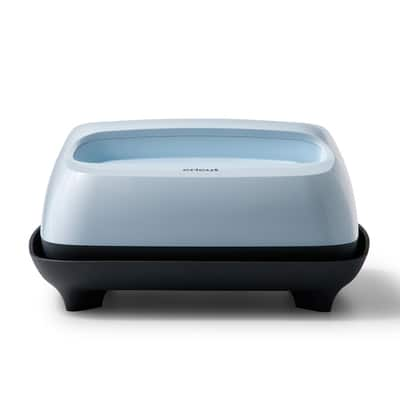
1 - 9" x 9"
cricut easypress® 3(d604360s)
Materials You Need
(4)

Multi Purpose Vinyl Gloves by ArtMinds™
$5.49
30% off one Regular Price Purchase with code 10212330
1 Required
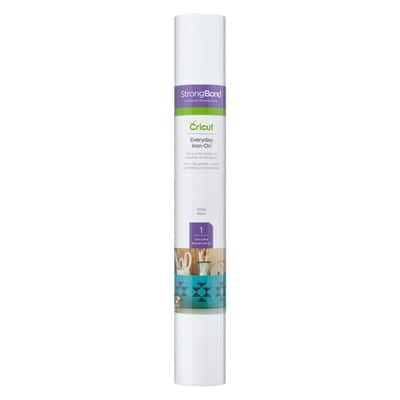
Cricut® Everyday Iron-On, 12" x 24"
$18.99
Buy Two Get One Free - Add three items to qualify
1 Required
Sale
Materials Items:
$0.00
Tools You Need
(8)
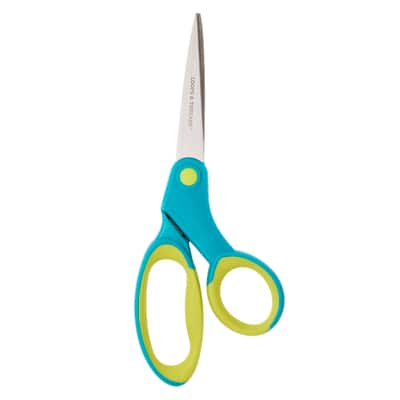
Loops & Threads™ Straight Scissors
$9.99
30% off one Regular Price Purchase with code 10212330
1 Required
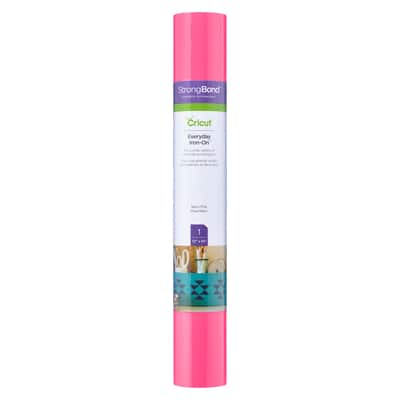
Cricut® Everyday Iron-On, 12" x 24"
$18.99
Buy Two Get One Free - Add three items to qualify
1 Required
Sale
Total Items:
$0.00