
![[object Object]](https://imgs.michaels.com/MAM/assets/1/5E3C12034D34434F8A9BAAFDDF0F8E1B/img/2FF2D575C6DC4A07933867CE2B2ED77E/B_89075_1.gif)
Coastal Styrofoam® Cones
At a Glance
Over an hour
Category: Home Décor Ideas
Intermediate
Share
Share
Instructions
ADDITIONAL MATERIALS
Wax (or palette) paper
disposable cups
Materials You Need
(9)
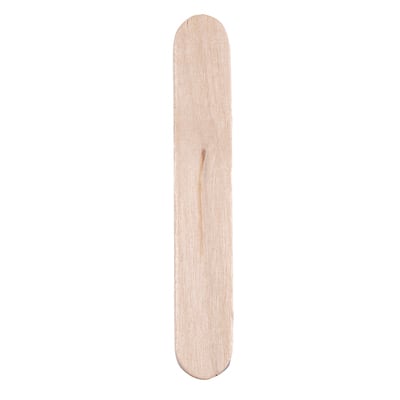
Creatology® Mini Wood Craft Sticks
$7.99
Save 30% off One Regular Price Item with code 300126240 - Exclusions apply
3 Required
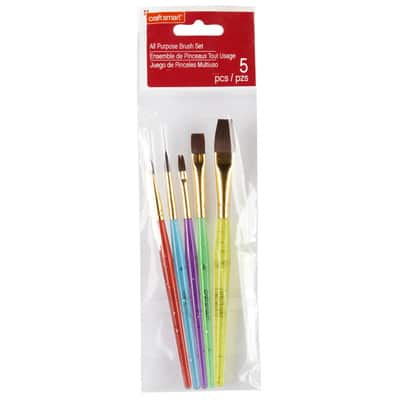
Craft Smart® All Purpose Brush Set
$4.99
Save 30% off One Regular Price Item with code 300126240 - Exclusions apply
1 Required

4" Mini Dual Temperature Glue Sticks by Ashland®
$4.99
Save 30% off One Regular Price Item with code 300126240 - Exclusions apply
1 Required

FloraCraft® FloraFōM Cone Green
$4.99
Save 30% off One Regular Price Item with code 300126240 - Exclusions apply
1 Required
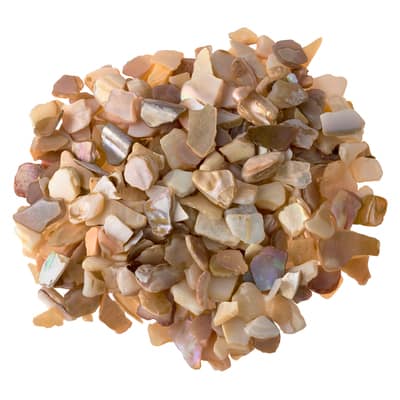
Natural Crushed Shells By Ashland™
$8.99
Save 30% off One Regular Price Item with code 300126240 - Exclusions apply
1 Required
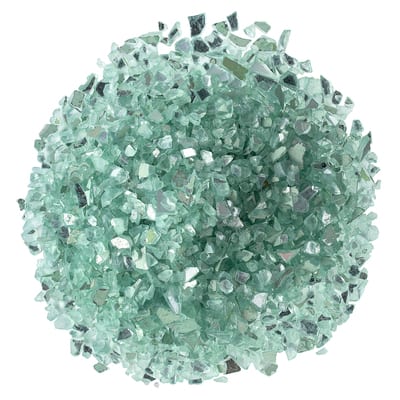
Turquoise Crushed Glass By Ashland®
$6.99
Save 30% off One Regular Price Item with code 300126240 - Exclusions apply
1 Required

FloraCraft® White Cone
$4.99
Save 30% off One Regular Price Item with code 300126240 - Exclusions apply
1 Required
FloraCraft® White Cone
$21.99
Save 30% off One Regular Price Item with code 300126240 - Exclusions apply
1 Required
FloraCraft® White Cone
$8.49
Save 30% off One Regular Price Item with code 300126240 - Exclusions apply
2 Required
Materials Items:
$0.00
Tools You Need
(5)
Mini Low Temperature Glue Gun by Ashland®
$4.99
Save 30% off One Regular Price Item with code 300126240 - Exclusions apply
1 Required
6" Diagonal Cutter by Ashland®
$14.99
Save 30% off One Regular Price Item with code 300126240 - Exclusions apply
1 Required
8" Compound Action Pliers by Ashland™
$34.99
Save 30% off One Regular Price Item with code 300126240 - Exclusions apply
1 Required
Fine Stone Granules By Ashland™
$6.99
Save 30% off One Regular Price Item with code 300126240 - Exclusions apply
1 Required
Fine Stone Granules By Ashland™
$6.99
Save 30% off One Regular Price Item with code 300126240 - Exclusions apply
1 Required
Total Items:
$0.00