![[object Object]](https://imgs.michaels.com/MAM/assets/1/5E3C12034D34434F8A9BAAFDDF0F8E1B/img/4E4E7F9944754FFE8E6AC3EE4491EAB9/B_90610_1.jpg)
Clay Holiday Gift Tags
![[object Object]](https://imgs.michaels.com/MAM/assets/1/5E3C12034D34434F8A9BAAFDDF0F8E1B/img/4E4E7F9944754FFE8E6AC3EE4491EAB9/B_90610_1.jpg)
At a Glance
About an hour
Category: Gift Wrap
Intermediate
Create this lovely, personalised addition to your holiday presents!
Share
Share

Instructions
Download Instructions
ADDITIONAL MATERIALS
Oven
Materials You Need
(2)
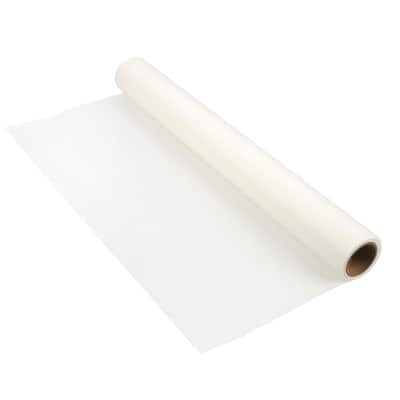
Parchment Paper Roll by Celebrate It®
$11.99
30% off one Regular Price Purchase with code 10212330
1 Required
ADD TO CART
Materials Items:
$0.00
Add All 2 Item(s) to Cart
Tools You Need
(1)
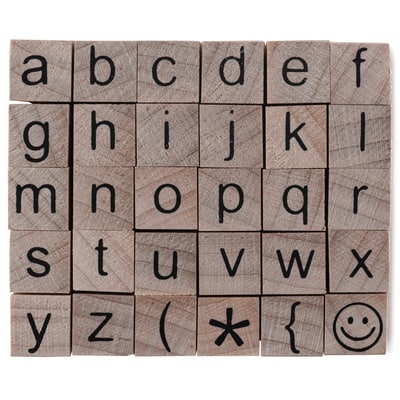
Small Lowercase Alphabet Wood Stamp Set by Recollections™
$15.99
30% off one Regular Price Purchase with code 10212330
1 Required
ADD TO CART
Total Items:
$0.00
Add All 1 Item(s) to Cart


