
![[object Object]](https://imgs.michaels.com/MAM/assets/1/5E3C12034D34434F8A9BAAFDDF0F8E1B/img/2CCACC3980964C11869D5969619C95CB/B_90181_1.jpg)
Christmas Morning Sensory Bottle
At a Glance
About 30 minutes
Category: Craft Ideas
Beginner
This project is intended for kids ages 4+. How cute is this Santa! He is headed face first down your chimney on Christmas Morning!
Share
Share
Instructions
ADDITIONAL MATERIALS
Materials You Need
(6)
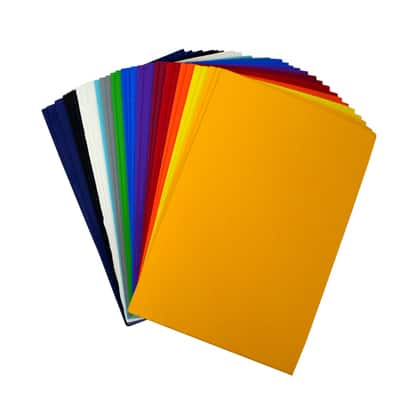
Primary 6" x 9" Adhesive Foam Sheets Value Pack by Creatology™, 30 Sheets
$12.99
Get $10 off when you Spend $50 or more with code 501081622
1 Required
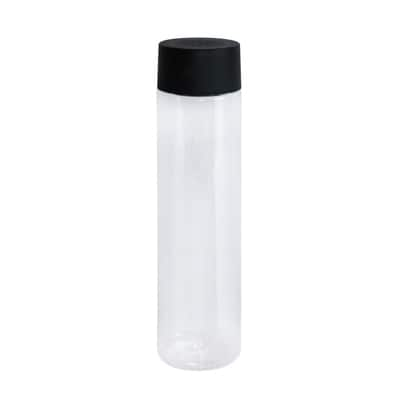
Sensory Bottle by ArtMinds™
$2.99
Get $10 off when you Spend $50 or more with code 501081622
1 Required
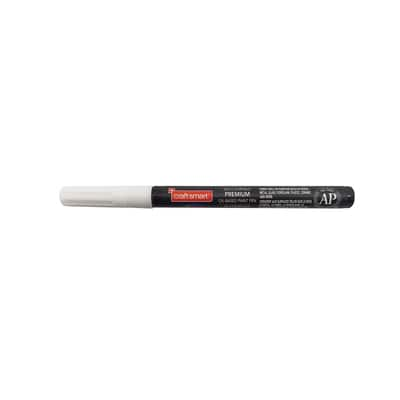
Multi-Surface Fine Tip Premium Paint Pen by Craft Smart®
$5.99
Get $10 off when you Spend $50 or more with code 501081622
1 Required
Materials Items:
$0.00
Tools You Need
(0)