
![[object Object]](https://imgs.michaels.com/MAM/assets/1/5E3C12034D34434F8A9BAAFDDF0F8E1B/img/6455D32FFFAA4EC6ABC094CCD7C022AF/B_90389_1.jpg)
Believe Layered Paper Ornament
At a Glance
About 30 minutes
Category: Ornaments
Beginner
This elegantly papercrafted ornament will make a beautiful addition to your holiday tree or packages. Your Cricut® makes this so easy!
Share
Share
Instructions
ADDITIONAL MATERIALS
Computer
1 - recollections™ foam adhesive circles (10026507)
Materials You Need
(2)
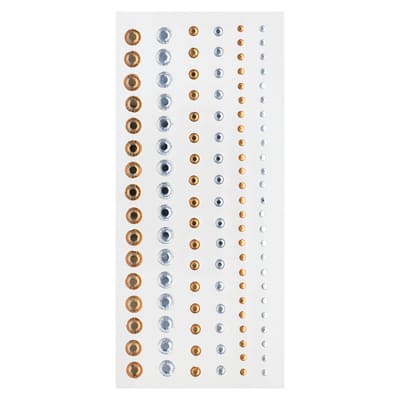
Recollections™ Three-Size Pack of Rhinestones
$4.99
Get $10 off when you Spend $50 or more with code 501081622
1 Required
Materials Items:
$0.00
Tools You Need
(2)
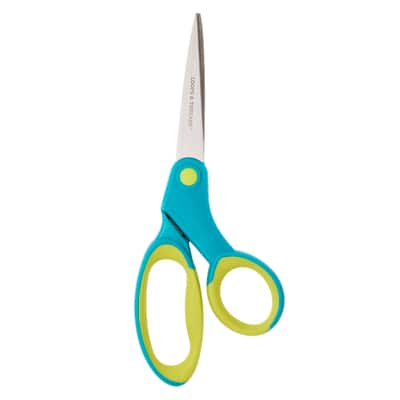
Loops & Threads™ Straight Scissors
$9.99
Get $10 off when you Spend $50 or more with code 501081622
1 Required
Total Items:
$0.00