
![[object Object]](https://imgs.michaels.com/MAM/assets/1/5E3C12034D34434F8A9BAAFDDF0F8E1B/img/D3FE234AF20040D689A2C585A18AB9EA/B_87892_1.gif)
All About Me Introduction Poster Board
At a Glance
About an hour
Category: Classroom
Intermediate
This marquee sign is a fun ice breaker for each student to share information about themselves in the classroom! Each week someone will be introduced on the marquee. The marquee is fun, flashy and your students will enjoy being a focus for the week.
Share
Share
Instructions
ADDITIONAL MATERIALS
Computer
Materials You Need
(2)
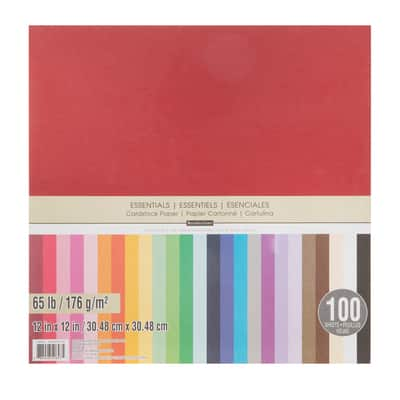
Essentials 12" x 12" Cardstock Paper by Recollections™, 100 Sheets
$29.99
Buy One Get One 50% Off - Add two items to qualify
1 Required
Sale
Materials Items:
$0.00
Tools You Need
(3)
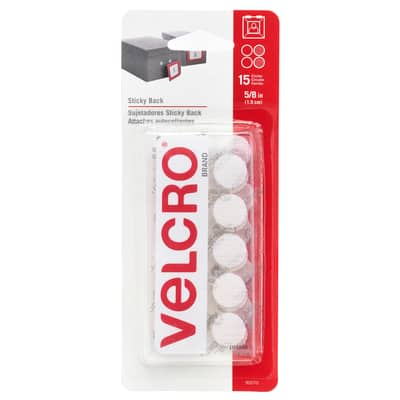
VELCRO® Brand STICKY BACK™ Coins, 5/8"
$6.99
25% Off One Regular Price Item with code 5192525
1 Required
22" x 28" Poster Board by Creatology™
$1.79
25% Off One Regular Price Item with code 5192525
1 Required
Total Items:
$0.00
We would love to hear from you!