
![[object Object]](https://imgs.michaels.com/MAM/assets/1/5E3C12034D34434F8A9BAAFDDF0F8E1B/img/75631EA3440142439F4FD1D26CD1AA3F/B_90662_1.jpg)
3D Valentine Cards
At a Glance
Over an hour
Category: Cards
Intermediate
Share
Share
Instructions
ADDITIONAL MATERIALS
Computer
Pens
1 - loops & threads® impeccable™ plus yarn
dark mauve (sku 10630225)
Materials You Need
(6)
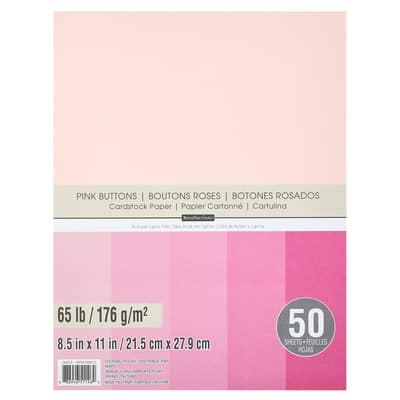
8.5" x 11" 65lb. Cardstock Paper Pack by Recollections™, 50 Sheets
$11.99
Buy One Get One 50% Off - Add two items to qualify
1 Required
Sale
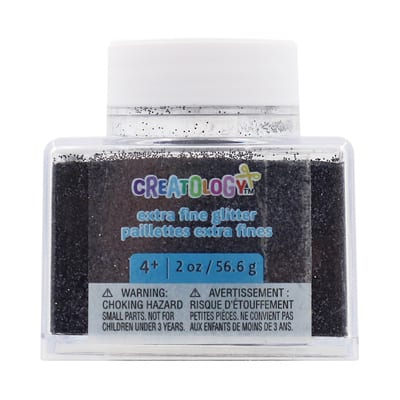
Extra Fine Glitter Stacker by Creatology™
$6.49
25% Off One Regular Price Item with code 5192525
1 Required
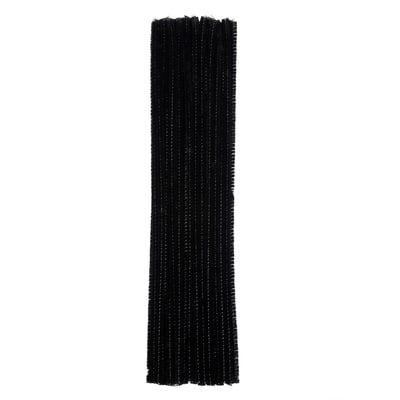
Chenille Pipe Cleaners, 25ct. by Creatology™
$3.49
25% Off One Regular Price Item with code 5192525
1 Required

4" Mini Dual Temperature Glue Sticks by Ashland®
$4.99
25% Off One Regular Price Item with code 5192525
1 Required
Materials Items:
$0.00
Tools You Need
(3)
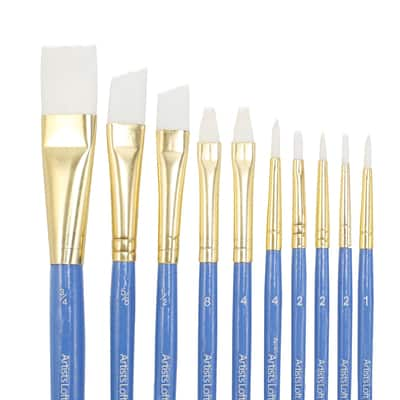
White Synthetic Brushes Fundamentals™ by Artist's Loft™
$7.99
25% Off One Regular Price Item with code 5192525
1 Required

Mini Low Temperature Glue Gun by Ashland®
$4.99
25% Off One Regular Price Item with code 5192525
1 Required
Total Items:
$0.00
We would love to hear from you!