
 Print Project

-

- About 30 minutes
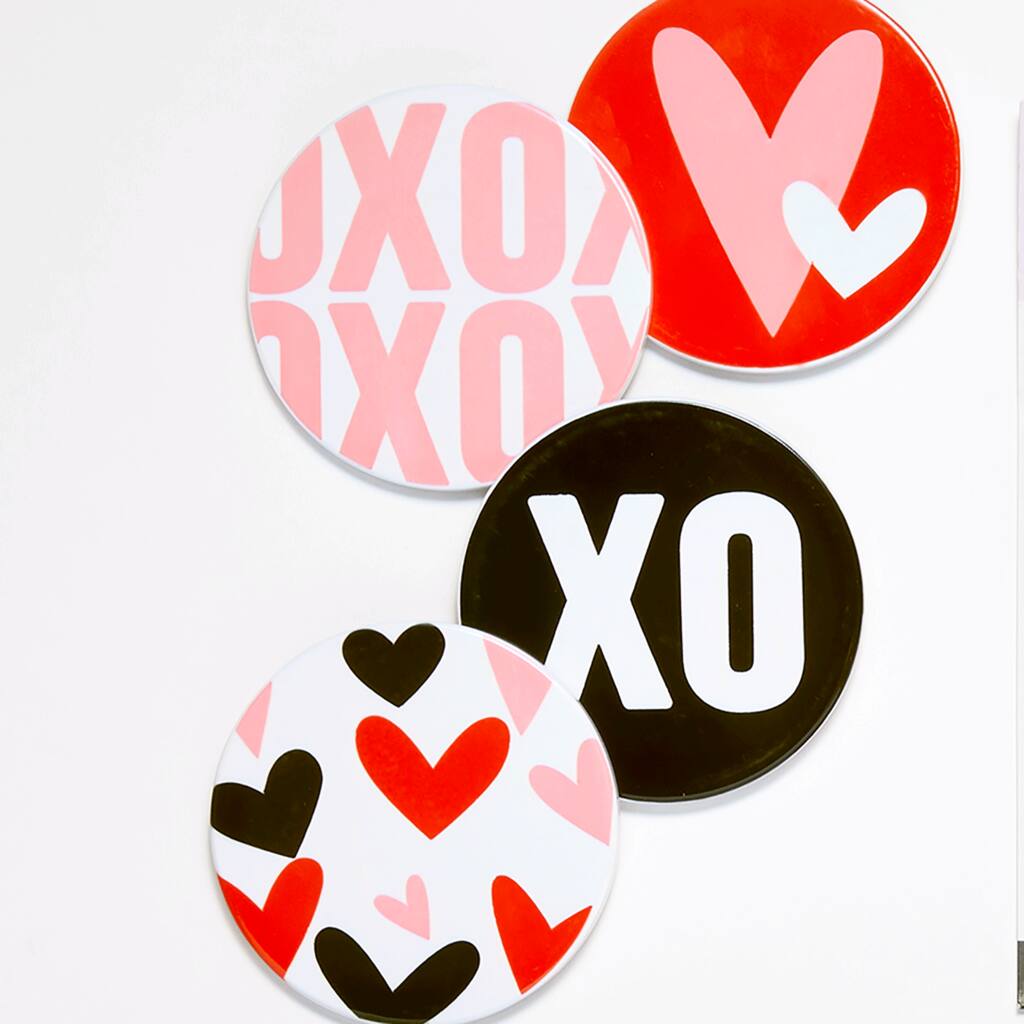
cricut® infusible ink™ valentine's day coasters
| Step 1 |
First, click here to go directly to the design in Cricut® Design Space™. |
| Step 2 |
Click ‘Make It’ in the upper right corner of your screen. |
| Step 3 |
In your preview screen, check ‘Mirror’ in the left panel for each mat, to reverse your image. |
| Step 4 |
Now, click ‘Continue’ in the bottom right corner of your screen and choose the material for your first layer. |
| Step 5 |
Place the Infusible Ink™ material, ink-side up, onto your cutting mat. Load the mat into your Cricut® machine, then press the blinking Cricut® icon to start cutting. |
| Step 6 |
Once your machine is done cutting, use scissors to cut your design from the transfer sheet(s). Next, remove all the excess material around and inside your design. You’ll be left with just the reversed design on the clear plastic carrier sheets, which are slightly sticky. |
| Step 7 |
Preheat your EasyPress™ to the appropriate temperature for your material and, if needed, adjust the timer. |
| Step 8 |
Place a piece of cardstock onto your EasyPress™ mat and lay your design onto your coaster, print-side down; then use some heat resistant tape to hold it in place. |
| Step 9 |
Fold a piece of butcher paper twice so there are four layers and place over the copy paper (with your design). |
| Step 10 |
Carefully place your EasyPress™ over your design. Hold in place with gentle pressure and press the timer button. |
| Step 11 |
After 300 seconds of heat, carefully remove your EasyPress™. Again, try not to move your design. Let it cool for about 15 minutes or so and then remove the copy paper from the top of your coaster.
|
 Tools
Tools
Tools
Tools
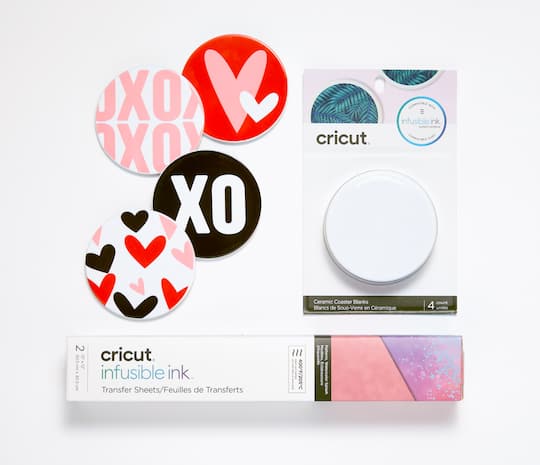
Products

 You’ll Also Need
- Computer
| Step 1 |
First, click here to go directly to the design in Cricut® Design Space™. |
| Step 2 |
Click ‘Make It’ in the upper right corner of your screen. |
| Step 3 |
In your preview screen, check ‘Mirror’ in the left panel for each mat, to reverse your image. |
| Step 4 |
Now, click ‘Continue’ in the bottom right corner of your screen and choose the material for your first layer. |
| Step 5 |
Place the Infusible Ink™ material, ink-side up, onto your cutting mat. Load the mat into your Cricut® machine, then press the blinking Cricut® icon to start cutting. |
| Step 6 |
Once your machine is done cutting, use scissors to cut your design from the transfer sheet(s). Next, remove all the excess material around and inside your design. You’ll be left with just the reversed design on the clear plastic carrier sheets, which are slightly sticky. |
| Step 7 |
Preheat your EasyPress™ to the appropriate temperature for your material and, if needed, adjust the timer. |
| Step 8 |
Place a piece of cardstock onto your EasyPress™ mat and lay your design onto your coaster, print-side down; then use some heat resistant tape to hold it in place. |
| Step 9 |
Fold a piece of butcher paper twice so there are four layers and place over the copy paper (with your design). |
| Step 10 |
Carefully place your EasyPress™ over your design. Hold in place with gentle pressure and press the timer button. |
| Step 11 |
After 300 seconds of heat, carefully remove your EasyPress™. Again, try not to move your design. Let it cool for about 15 minutes or so and then remove the copy paper from the top of your coaster.
|