![[object Object]](https://imgs.michaels.com/MAM/assets/1/5E3C12034D34434F8A9BAAFDDF0F8E1B/img/8545D7CD34A442108812AEEAA6C5B29A/B_90397_1.jpg)
Guirlande de houx en papier pour la saison des Fêtes
![[object Object]](https://imgs.michaels.com/MAM/assets/1/5E3C12034D34434F8A9BAAFDDF0F8E1B/img/8545D7CD34A442108812AEEAA6C5B29A/B_90397_1.jpg)
En un coup d'œil
About an hour
Catégorie: Décor
Débutant
Partager
Partager

Instructions
Télécharger les instructions
Imprimer
MATÉRIEL SUPPLÉMENTAIRE
Ordinateur
Matériel nécessaire
(5)
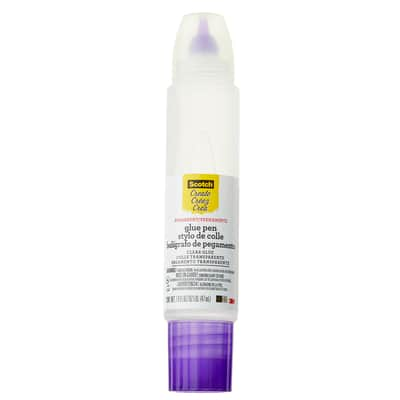
Colle pour collimage à deux embouts applicateurs de Scotch
11,99$
20 % de rabais supplémentaire sur des achats à prix courant et de solde avec le code 8232525
1 Obligatoire
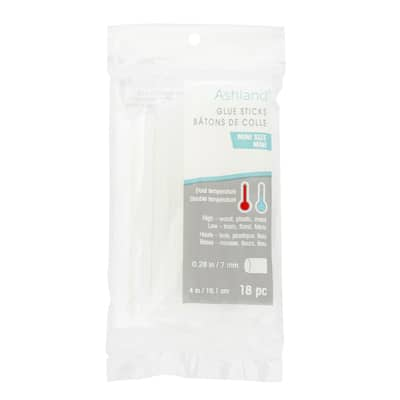
Mini bâtonnets de colle à deux températures de 10,1 cm d’Ashland
4,99$
20 % de rabais supplémentaire sur des achats à prix courant et de solde avec le code 8232525
1 Obligatoire
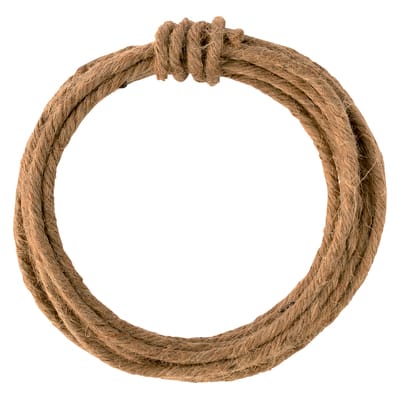
Ficelle naturelle avec fil métallique de 4 mm d’Ashland
5,99$
20 % de rabais supplémentaire sur des achats à prix courant et de solde avec le code 8232525
1 Obligatoire
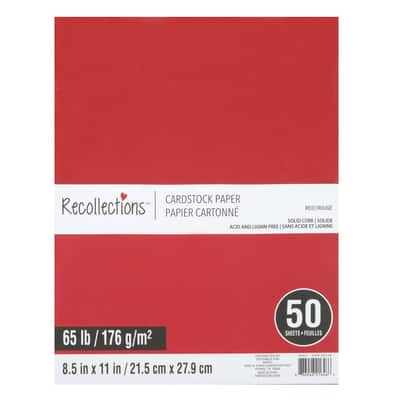
Papier cartonné de 21,5 cm x 27,9 cm de Recollections, 50 feuilles
11,99$
Achetez-en 1 et obtenez-en 1 gratuit - ajoutez deux articles pour profiter de l’offre.
1 Obligatoire
Solde
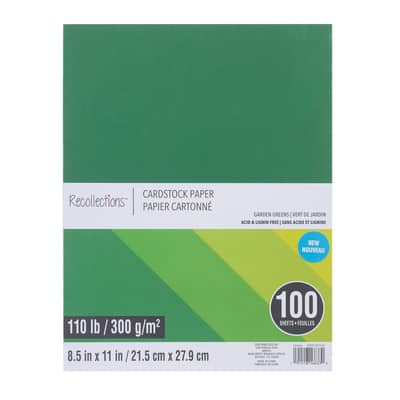
Papier cartonné vert de jardin de 21,5 cm x 27,9 cm de Recollections, 100 feuilles
21,99$
Achetez-en 1 et obtenez-en 1 gratuit - ajoutez deux articles pour profiter de l’offre.
1 Obligatoire
Solde
Articles matériels:
$0.00
Outils nécessaires
(2)
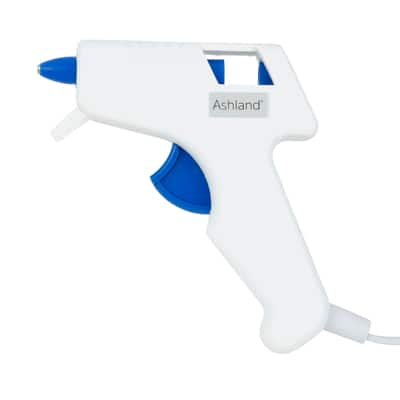
Colle à pistolet miniature à basse températures d’Ashland
4,99$
20 % de rabais supplémentaire sur des achats à prix courant et de solde avec le code 8232525
1 Obligatoire
Total des articles:
$0.00


