
-

- About an hour
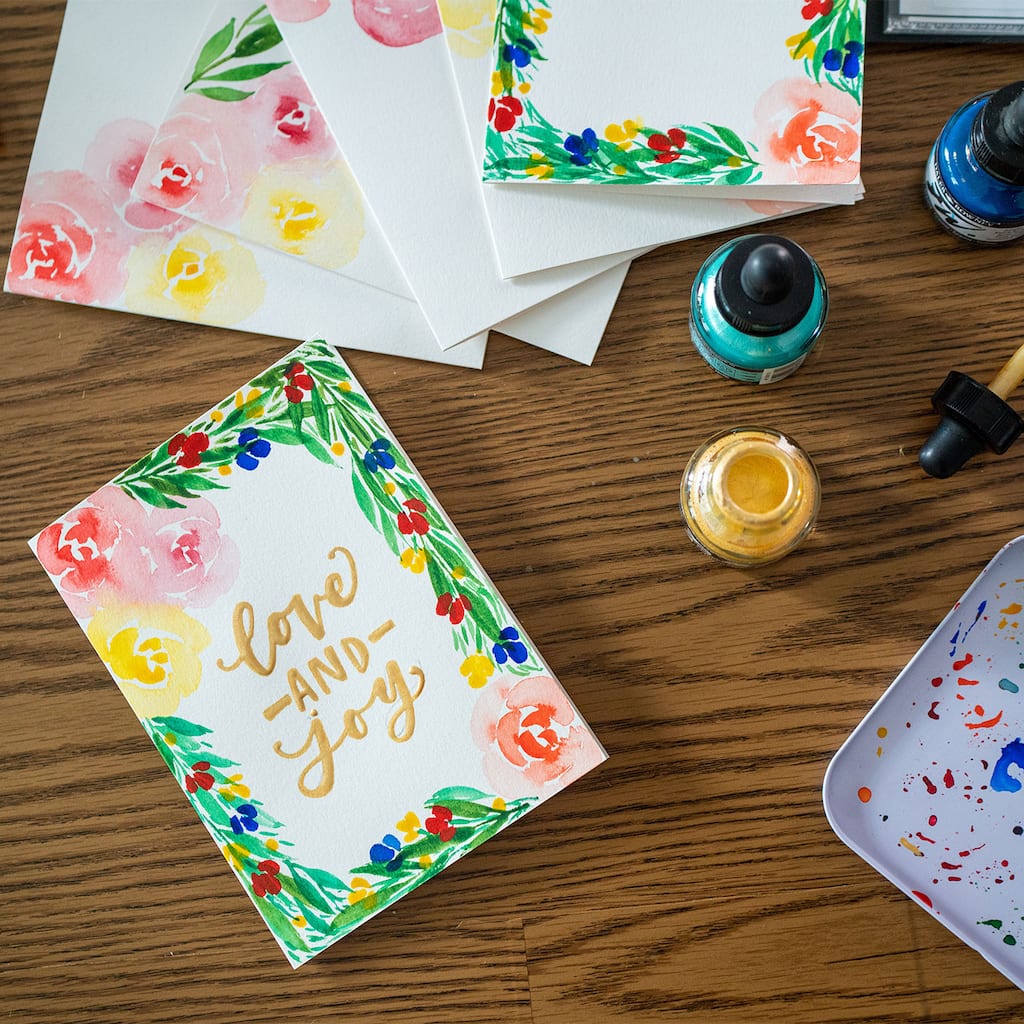
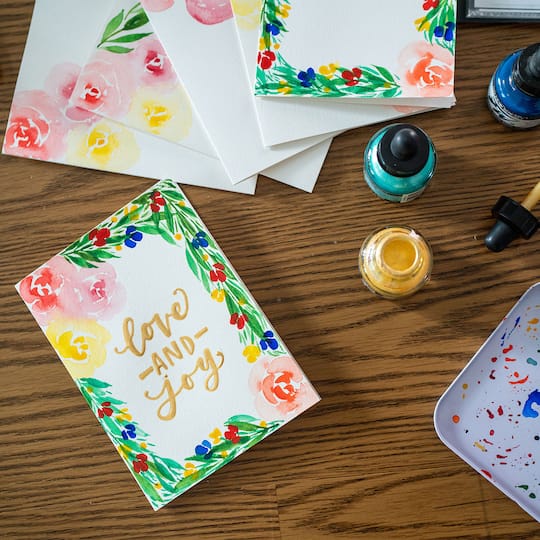
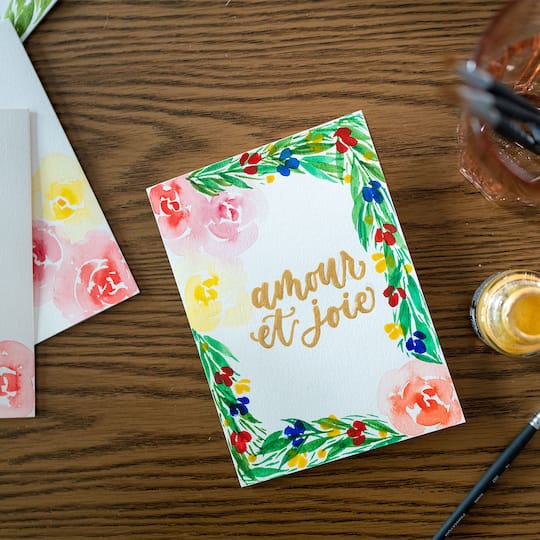
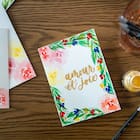
watercolour holiday card
| Step 1 |
| Start by painting three loose watercolour roses at the upper left-hand corner and then one rose at the bottom right-hand corner of your watercolour cards. To paint a loose watercolour rose, start by painting “c-curve” strokes with mainly pigment on your brush. The middle will be very pigmented. |
| Step 2 |
Then rinse your brush in water and begin pulling the pigment from the middle while painting bigger “c-curve” strokes around the mid-point. Repeat this process until the strokes appear softer since less pigment is used and the floral gets bigger. Also, make sure that there is some negative space between the “c-curve” strokes in order to create a rose-like floral. |
| Step 3 |
| Now, paint a bundle of loose watercolour leaves around the edges to create a fun leaf border. To paint a loose watercolour leaf, paint a light upstroke using the tip of the paintbrush, this will form the stem for the leaves. Then use the belly of the paintbrush to create a half-almond-shaped stroke. Make another half-almond-shaped stroke starting at the bottom of the first almond-shaped stroke. Then extend the tip of the leaf where the two almond-shaped strokes meet and this will help determine the direction of the leaf as well. Using more water and paint, continue to paint the remaining leaves. |
| Step 4 |
| Pick a side of the stem and start with a light upstroke. Follow the light upstroke with a heavy pressure upstroke under the first light stroke to create an “almond-shaped” leaf. Go over the leaf back and forth to reshape the leaf if needed. Continue this process once one side of the stem is covered in leaves. Next, rotate your art piece and begin painting the remaining leaves on the other side of the stem using the same painting techniques for a leaf. Continue painting multiple leaves along the edges of the card using various shades of the colour green until a full border of leaves is created. TIP: Don’t worry about lining up the leaves on both sides of the stem, the beauty about leaves is that they are not always symmetrical. |
| Step 5 |
| After the leaves are painted, let’s now paint smaller loose florals around the edges to make the border appear fuller and colourful. To paint the smaller florals, paint an upside-down triangle or some paint strokes leaving a little bit of negative space. Paint another paint stroke on the left-hand side of the initial upside-down triangle and then on the right-hand side. Repeat this process and choose various colours when painting the smaller florals on the leaf border. |
| Step 6 |
| Next, paint stems for the smaller loose florals throughout the leaf border and paint additional stems along the edges to make the border appear fuller. |
| Step 7 |
Lastly, use a pencil to sketch out your lettering on the middle of the card and then go over it using a round paintbrush and watercolour paints. |
-

-
 845160606You’ll Need: 1Item # 10583067
Promotions
$2.19- Color: Black
- Size: 2B
- Color: Black
- Size: 2B
- Color: Black
- Size: 2B
Products
-

-
 845162643You’ll Need: 1Item # 10553033
Promotions
$25.99- Color: Assorted
- Size: 8
- Color: Assorted
- Size: 8
- Color: Assorted
- Size: 8
Products
- Daler-Rowney® FW Pearlescent Liquid Acrylic – Bell Bronze (D274429S)
| Step 1 |
| Start by painting three loose watercolour roses at the upper left-hand corner and then one rose at the bottom right-hand corner of your watercolour cards. To paint a loose watercolour rose, start by painting “c-curve” strokes with mainly pigment on your brush. The middle will be very pigmented. |
| Step 2 |
Then rinse your brush in water and begin pulling the pigment from the middle while painting bigger “c-curve” strokes around the mid-point. Repeat this process until the strokes appear softer since less pigment is used and the floral gets bigger. Also, make sure that there is some negative space between the “c-curve” strokes in order to create a rose-like floral. |
| Step 3 |
| Now, paint a bundle of loose watercolour leaves around the edges to create a fun leaf border. To paint a loose watercolour leaf, paint a light upstroke using the tip of the paintbrush, this will form the stem for the leaves. Then use the belly of the paintbrush to create a half-almond-shaped stroke. Make another half-almond-shaped stroke starting at the bottom of the first almond-shaped stroke. Then extend the tip of the leaf where the two almond-shaped strokes meet and this will help determine the direction of the leaf as well. Using more water and paint, continue to paint the remaining leaves. |
| Step 4 |
| Pick a side of the stem and start with a light upstroke. Follow the light upstroke with a heavy pressure upstroke under the first light stroke to create an “almond-shaped” leaf. Go over the leaf back and forth to reshape the leaf if needed. Continue this process once one side of the stem is covered in leaves. Next, rotate your art piece and begin painting the remaining leaves on the other side of the stem using the same painting techniques for a leaf. Continue painting multiple leaves along the edges of the card using various shades of the colour green until a full border of leaves is created. TIP: Don’t worry about lining up the leaves on both sides of the stem, the beauty about leaves is that they are not always symmetrical. |
| Step 5 |
| After the leaves are painted, let’s now paint smaller loose florals around the edges to make the border appear fuller and colourful. To paint the smaller florals, paint an upside-down triangle or some paint strokes leaving a little bit of negative space. Paint another paint stroke on the left-hand side of the initial upside-down triangle and then on the right-hand side. Repeat this process and choose various colours when painting the smaller florals on the leaf border. |
| Step 6 |
| Next, paint stems for the smaller loose florals throughout the leaf border and paint additional stems along the edges to make the border appear fuller. |
| Step 7 |
Lastly, use a pencil to sketch out your lettering on the middle of the card and then go over it using a round paintbrush and watercolour paints. |