


-

- Over an hour
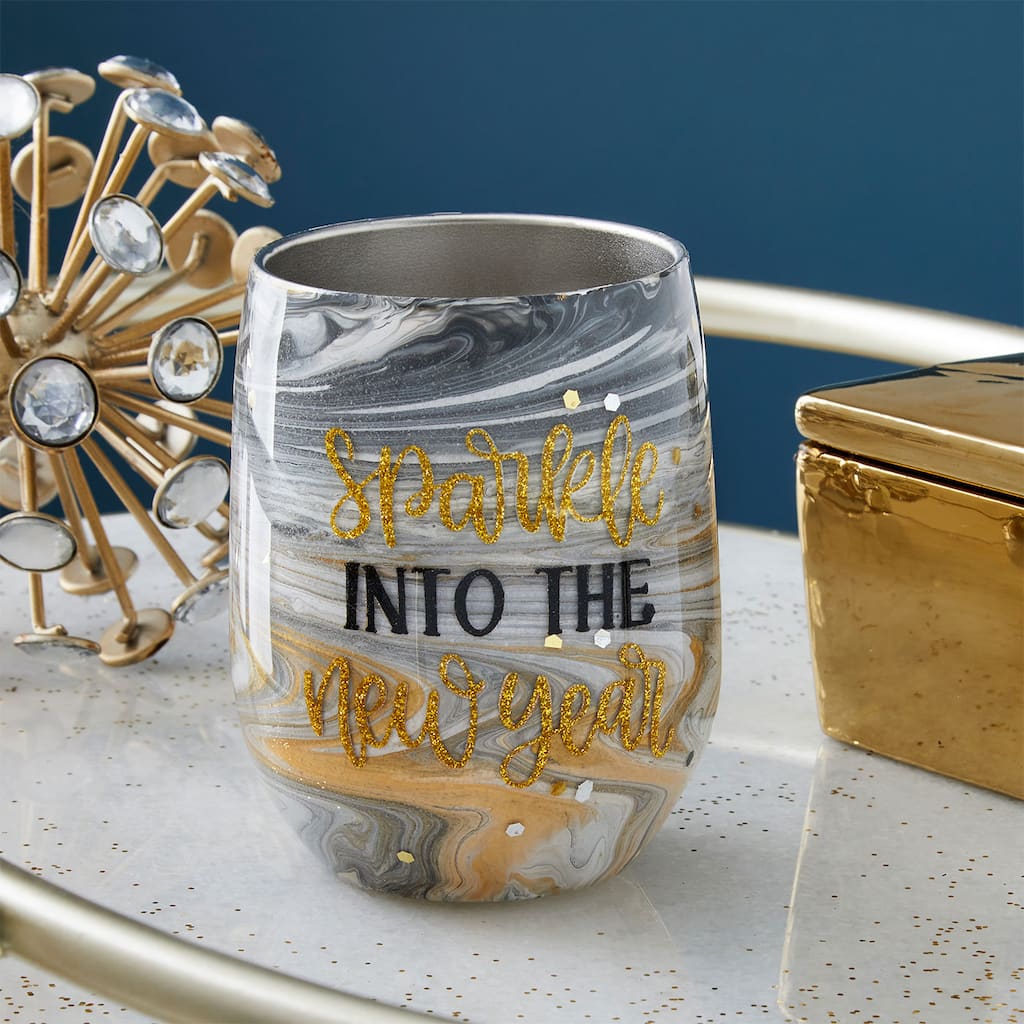
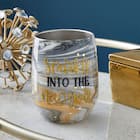
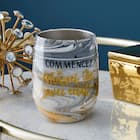
sparkle into the new year wine tumbler
| Step 1 |
First, clean your tumbler with rubbing alcohol to remove any fingerprints and/or oils and protect your working surface with a disposable table cover. |
| Step 2 |
Put on a pair of the gloves included in the prep kit and place your cup on the spring arm of your tumbler turner. |
| Step 3 |
Turn on your turner and pour a layer of white paint pour until the outside of your tumbler is covered. |
| Step 4 |
Let your tumbler turn for a few minutes to allow the white paint pour to level out on the surface. |
| Step 5 |
Now, add Gold, Silver, black and more white paint pour to your tumbler. Alternate the paint order, placement and amount. Once you are happy with the paint pour added, leave the turner on the fastest speed for a few hours to let the marbling settle, level and start to dry; then turn it down low to let the paint completely dry. |
| Step 6 |
Now, with gloved hands, mix epoxy as noted in the directions. Mix only what is needed for one layer at a time. |
| Step 7 |
Pour enough mixed epoxy onto your tumbler to completely cover it with a thin layer. Use your gloved fingers, or a craft stick, to spread around. Turn your tumbler and repeat until your tumbler is covered. |
| Step 8 |
If desired, scatter a little super chunky glitter to add a little more sparkle to your tumbler! Add a very thin layer of epoxy and sprinkle the chunky glitter. |
| Step 9 |
Turn your turner all the way up to the fastest speed and allow it to turn for about 12 hours. |
| Step 10 |
Click here for design in Cricut® Design Space™ and cut out of glitter heat transfer vinyl (HTV). |
| Step 11 |
Use your weeding tool to remove the excess material around and within your design. |
| Step 12 |
Place your design onto your tumbler so you can read the words from your design through the plastic carrier sheet. |
| Step 13 |
Slowly (and carefully) turn on your heat tool and run heat over your design. You may want to do this a little at a time so you do not "melt" or soften the resin. Let it sit for a few minutes and then remover the carrier sheet. |
| Step 14 |
Repeat Steps 6-7 and 8 to add a last layer of clear resin over your cup. Allow it to turn for 12 hours. Turn off your turner and let sit overnight. |
-
 809188578You’ll Need: 1Item # 10403771
Promotions
$7.49- Color: Ebony Silver Mix
- Size: 1 oz
- Color: Ebony Silver Mix
- Size: 1 oz
- Color: Ebony Silver Mix
- Size: 1 oz
-
 809188578You’ll Need: 1Item # 10403765
Promotions
$7.49- Color: Gold
- Size: 1 oz
- Color: Gold
- Size: 1 oz
- Color: Gold
- Size: 1 oz
-

-
 You’ll Need: 1Item # 10591880
Promotions
$17.99$32.99 -
 845161011You’ll Need: 1Item # 10597483
Promotions
$20.49- Color: Titanium White
- Size: 16.9 oz
- Color: Titanium White
- Size: 16.9 oz
- Color: Titanium White
- Size: 16.9 oz
-
 845161011You’ll Need: 1Item # 10597485
Promotions
$20.49- Color: Black
- Size: 16.9 oz
- Color: Black
- Size: 16.9 oz
- Color: Black
- Size: 16.9 oz
-
 845161011You’ll Need: 1Item # 10597493
Promotions
$20.49- Color: Old Gold
- Size: 16.9 oz
- Color: Old Gold
- Size: 16.9 oz
- Color: Old Gold
- Size: 16.9 oz
-
 845161011You’ll Need: 1Item # 10597494
Promotions
$20.49- Color: Metallic Silver
- Size: 16.9 oz
- Color: Metallic Silver
- Size: 16.9 oz
- Color: Metallic Silver
- Size: 16.9 oz
-

-
 1016540246You’ll Need: 1Item # 10663891
Promotions
$9.99- Color: White
- Size: 12 oz
- Color: White
- Size: 12 oz
- Color: White
- Size: 12 oz
Products
Products


- Computer
- Wet Wipes
- Disposable Table Cover
- Paper Towel
- Rubbing Alcohol
| Step 1 |
First, clean your tumbler with rubbing alcohol to remove any fingerprints and/or oils and protect your working surface with a disposable table cover. |
| Step 2 |
Put on a pair of the gloves included in the prep kit and place your cup on the spring arm of your tumbler turner. |
| Step 3 |
Turn on your turner and pour a layer of white paint pour until the outside of your tumbler is covered. |
| Step 4 |
Let your tumbler turn for a few minutes to allow the white paint pour to level out on the surface. |
| Step 5 |
Now, add Gold, Silver, black and more white paint pour to your tumbler. Alternate the paint order, placement and amount. Once you are happy with the paint pour added, leave the turner on the fastest speed for a few hours to let the marbling settle, level and start to dry; then turn it down low to let the paint completely dry. |
| Step 6 |
Now, with gloved hands, mix epoxy as noted in the directions. Mix only what is needed for one layer at a time. |
| Step 7 |
Pour enough mixed epoxy onto your tumbler to completely cover it with a thin layer. Use your gloved fingers, or a craft stick, to spread around. Turn your tumbler and repeat until your tumbler is covered. |
| Step 8 |
If desired, scatter a little super chunky glitter to add a little more sparkle to your tumbler! Add a very thin layer of epoxy and sprinkle the chunky glitter. |
| Step 9 |
Turn your turner all the way up to the fastest speed and allow it to turn for about 12 hours. |
| Step 10 |
Click here for design in Cricut® Design Space™ and cut out of glitter heat transfer vinyl (HTV). |
| Step 11 |
Use your weeding tool to remove the excess material around and within your design. |
| Step 12 |
Place your design onto your tumbler so you can read the words from your design through the plastic carrier sheet. |
| Step 13 |
Slowly (and carefully) turn on your heat tool and run heat over your design. You may want to do this a little at a time so you do not "melt" or soften the resin. Let it sit for a few minutes and then remover the carrier sheet. |
| Step 14 |
Repeat Steps 6-7 and 8 to add a last layer of clear resin over your cup. Allow it to turn for 12 hours. Turn off your turner and let sit overnight. |