


-

- About 30 minutes
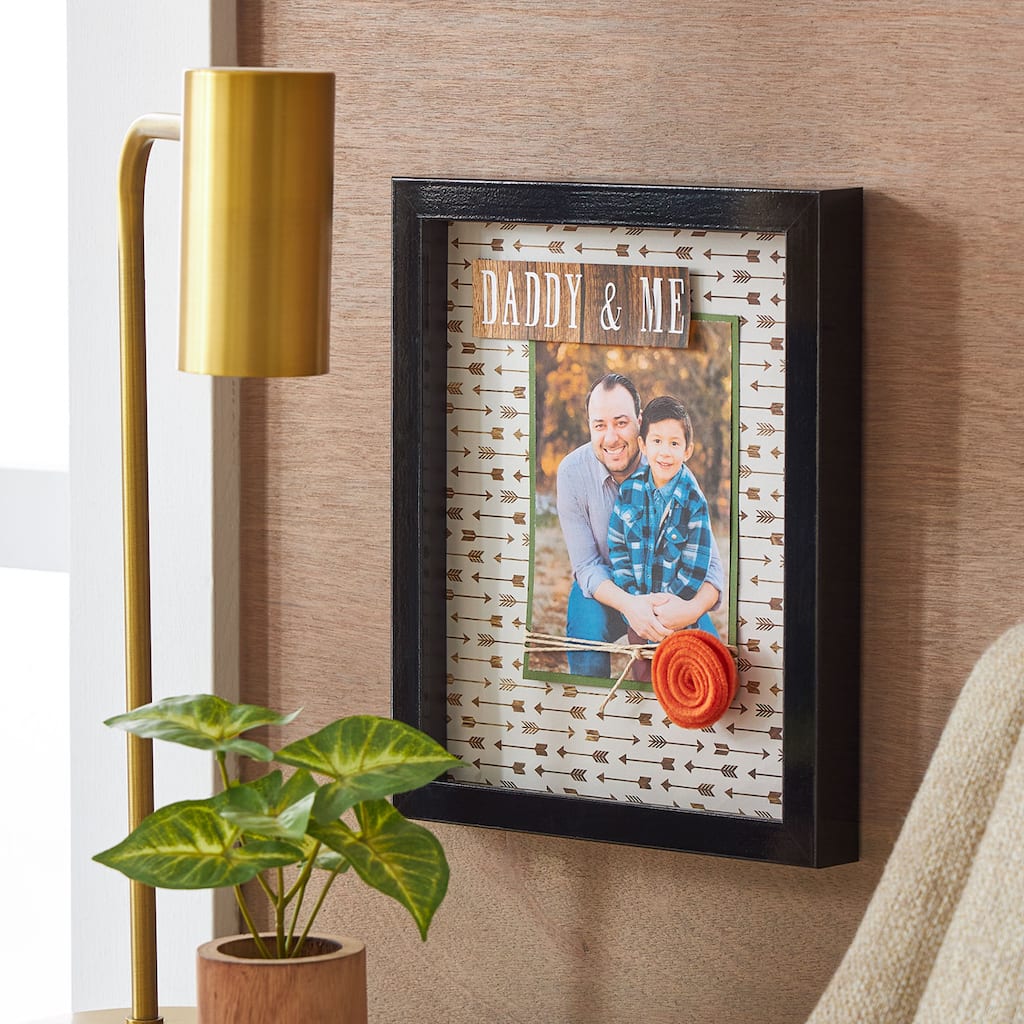
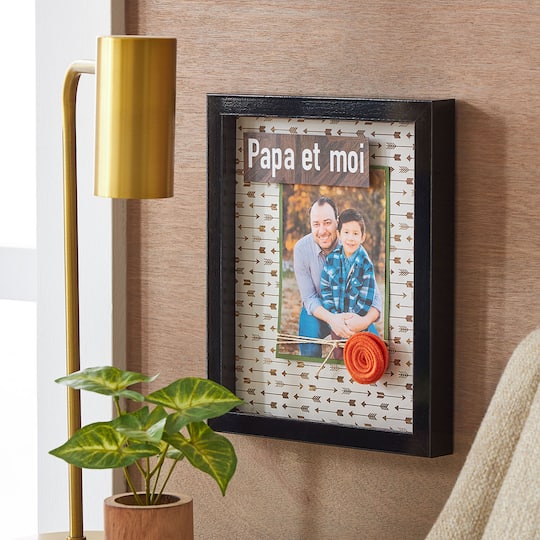
father's day daddy and me shadow box
| Step 1 |
Remove the back of the shadow box, then lay it on the arrow paper, trace it and cut out the rectangle shape. Adhere this to the inside of the back of the shadow box. |
| Step 2 |
Mat your photo onto the green paper with a small border all the way around the photo. Set aside. |
| Step 3 |
Click here for the design in Cricut® Design Space™. |
| Step 4 |
Size the design for your shadow box if desired. |
| Step 5 |
Click ‘Make It’ in the upper right corner of your screen. |
| Step 6 |
Now, click ‘Continue’ in the bottom right corner of your screen and choose the correct material. |
| Step 7 |
Place the barn wood scrapbook paper onto your cutting mat. Load the mat into your Cricut® machine, then press the blinking Cricut® icon to start cutting. |
| Step 8 |
Once your machine is done cutting each layer, carefully peel the cut design from the mat. You can use your weeder tool to help with the detail areas. |
| Step 9 |
Assemble and adhere the cut-out to white cardstock and trim to the same size, using the image as your guide. |
| Step 10 |
Wrap some twine around the matted photo and tie a knot. Adhere the photo to the backing in the shadow box. |
| Step 11 |
Use foam squares and attach the cut-out to the upper left corner of the photo, slightly overlapping. |
| Step 12 |
Make a felt rosette by cutting a circle, approximately 3" [5 cm], then cut a spiral to the middle. Roll the spiral towards the middle to make the rosette and secure it with hot glue. Now, hot glue it in place in your shadow box. |
| Step 13 |
Insert the back into the shadow box. |
-

-

-
 You’ll Need: 1Item # 10500652
Promotions
$39.99 -
 You’ll Need: 1Item # 10541065
Promotions
$1.29 -
 809188527You’ll Need: 1Item # 10151264
Promotions
$1.29ea.- Color: Dill
- Size: 12" x 12"
- Color: Dill
- Size: 12" x 12"
- Color: Dill
- Size: 12" x 12"
-
 809188528You’ll Need: 1Item # 10179533
Promotions
$12.99- Color: White
- Size: 4.5" x 6.5"
- Color: White
- Size: 4.5" x 6.5"
- Color: White
- Size: 4.5" x 6.5"
-
 876270947You’ll Need: 1Item # 10572032
Promotions
$0.69ea.- Color: Orange
- Size: 9" x 12"
- Color: Orange
- Size: 9" x 12"
- Color: Orange
- Size: 9" x 12"
Products
Products


- Computer
- Photo
| Step 1 |
Remove the back of the shadow box, then lay it on the arrow paper, trace it and cut out the rectangle shape. Adhere this to the inside of the back of the shadow box. |
| Step 2 |
Mat your photo onto the green paper with a small border all the way around the photo. Set aside. |
| Step 3 |
Click here for the design in Cricut® Design Space™. |
| Step 4 |
Size the design for your shadow box if desired. |
| Step 5 |
Click ‘Make It’ in the upper right corner of your screen. |
| Step 6 |
Now, click ‘Continue’ in the bottom right corner of your screen and choose the correct material. |
| Step 7 |
Place the barn wood scrapbook paper onto your cutting mat. Load the mat into your Cricut® machine, then press the blinking Cricut® icon to start cutting. |
| Step 8 |
Once your machine is done cutting each layer, carefully peel the cut design from the mat. You can use your weeder tool to help with the detail areas. |
| Step 9 |
Assemble and adhere the cut-out to white cardstock and trim to the same size, using the image as your guide. |
| Step 10 |
Wrap some twine around the matted photo and tie a knot. Adhere the photo to the backing in the shadow box. |
| Step 11 |
Use foam squares and attach the cut-out to the upper left corner of the photo, slightly overlapping. |
| Step 12 |
Make a felt rosette by cutting a circle, approximately 3" [5 cm], then cut a spiral to the middle. Roll the spiral towards the middle to make the rosette and secure it with hot glue. Now, hot glue it in place in your shadow box. |
| Step 13 |
Insert the back into the shadow box. |