


-

- About 30 minutes
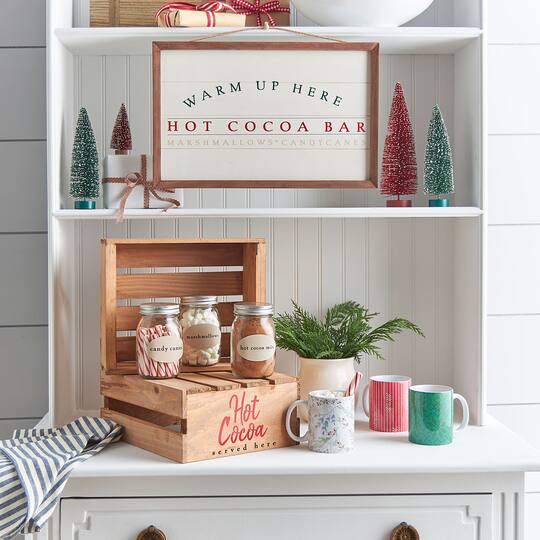
christmas cottage pattern ceramic mugs
Unlike iron-on or heat transfer vinyl’s, sublimation transfers your design into the fabric or substrate rather than pressing on top of your surface. Acting much like a printer, you won't have to switch out inks, or use an additional dedicated system for your EasySubli® transfers.
| Step 1 |
First, click here for trendy designs for your mug. Download it to your computer, then upload to your CreativeStudio in Sawgrass® Print Manager. |
| Step 2 |
Select the template that best matches your substrate and import your design. Create it how you want it to appear on your mug. |
| Step 3 |
Print your design from your Sawgrass™ printer onto sublimation paper. |
| Step 4 |
Use heat resistant tape to attach the printed design as desired onto your mug with the ink side facing your mug. |
| Step 5 |
Press the “on” icon button to preheat your Mug Press™. |
| Step 6 |
Fold a piece of butcher paper three times and wrap around your mug to protect the inner walls of your Mug Press™. |
| Step 7 |
Slide your mug inside your Mug Press™. Push the lever down to start the heating process. |
| Step 8 |
Once you hear the beep, lift the lever and remove your mug. Place on a trivet (or other heat resistant surface) to completely cool. |
| Step 9 |
Remove the sublimation paper to reveal your design. |
| Step 10 |
Repeat Steps 1-9 for additional mugs. |
Products


Products


- Computer
- Trivet (or Heat Resistant Surface)
- Potholder
| Step 1 |
First, click here for trendy designs for your mug. Download it to your computer, then upload to your CreativeStudio in Sawgrass® Print Manager. |
| Step 2 |
Select the template that best matches your substrate and import your design. Create it how you want it to appear on your mug. |
| Step 3 |
Print your design from your Sawgrass™ printer onto sublimation paper. |
| Step 4 |
Use heat resistant tape to attach the printed design as desired onto your mug with the ink side facing your mug. |
| Step 5 |
Press the “on” icon button to preheat your Mug Press™. |
| Step 6 |
Fold a piece of butcher paper three times and wrap around your mug to protect the inner walls of your Mug Press™. |
| Step 7 |
Slide your mug inside your Mug Press™. Push the lever down to start the heating process. |
| Step 8 |
Once you hear the beep, lift the lever and remove your mug. Place on a trivet (or other heat resistant surface) to completely cool. |
| Step 9 |
Remove the sublimation paper to reveal your design. |
| Step 10 |
Repeat Steps 1-9 for additional mugs. |